Audio Upgrades
9/24/25
Disclaimer: Modifications are done at your own risk. Arkpins.com is not responsible for any damage, injury, or loss resulting from the use of this content.
SAFETY TIPS
You will be handling bare electrical components so consider the following:
Disconnect the cabinet from power.
Do not wear any metal jewelry on your hands.
Maintain an organized area away from the workspace to store screws, components, and wiring
Wear a grounding strap or discharge yourself by touching a grounded metal object before handling bare electronic components.
Do not store tools on the playfield railing or support beams.
If this is your first time opening the cabinet, take lots of pictures for reference.
This blog contains Amazon Affiliate links, if you like what you see, consider supporting my journey.
NOTE: I performed this audio mod before creating the blog, so I don’t have specific pictures from the initial installation. I’ll do my best to replicate the process as accurately as possible.
THE SHORT
You can install aftermarket 3.5” coaxial speakers to improve the sound quality, but adding a 2.1 amplifier in addition to the new speakers AND a new subwoofer will drastically improve the overall audio performance.
NOTE: Amazon sent me the 5.25” version of the speakers so I used those instead. I was a little impatient and didn’t want to deal with the exchange. I’ll still refer to them as the 3.5” version for the sake of the blog.
THE PROBLEM
The factory 3.5” full-range speakers do their job, but I’m a bit picky about audio and need something better. Replacing them with aftermarket coaxial speakers will improve clarity by delivering crisper highs, but bass response will still be lacking. If that’s all that you are looking for then you're good to go and there's no need to read further.
For me, I need more BASS! I want to feel the cabinet rumbling in my palms. From what I’ve noticed, the factory SSF 8” subwoofer is meant for haptic effects and doesn’t actually provide any low-end audio support to the backbox speakers. It only kicks in when you pop bumpers or when other table features are triggered—it’s kind of a waste, IMHO. I found a way to get both.
THE SOLUTION
Here’s my fancy solution! Get rid of that measly factory subwoofer and its weird box. Install a down-firing dual-voice coil subwoofer directly to the cabinet so you can hook up the SSF’s amplified sub output to one of the coils. The 2nd coil gets connected to a 2.1 amplifier that takes your backbox’s speaker’s signal and creates a low-pass subwoofer channel. You still get your SSF effects and you get the added low-end frequency support for the new speakers in the backbox. I didn’t think it would work well but it DOES and it’s glorious!
However, if you direct-mount a subwoofer to your cabinet, it will rattle. You’ll need to apply proper acoustic treatment to minimize or eliminate cabinet vibrations. It’s a lot of work but well worth it.
HOW
Tools:
Phillips screwdriver
Powered screwdriver
Scissors
Heat gun
Materials
KICKER CS-Series 46CSC54 5.25” Coaxial speakers (OPTIONAL) Not a perfect fit but it works.
Frost King 3/8”Wide x 1/4” Thick self-stick weather seal tape
PREP WORK
Disconnect the power cord from the cabinet.
Remove the 10 Phillips screws holding the large panel behind the backbox to gain access to the speakers.
Remove the lower smaller access panel.
Remove the backbox plexiglass. There are 4 screws per speaker grill and 2 screws on top.
Remove the playfield screen. There are 2 backlight connectors and an eDP cable. The eDP is delicate so you need to be careful, lift the tiny little wire handle and pull the connector out sideways, not up.
REMOVE THE SUBWOOFER
Trace the subwoofer cable coming out of the box to the SSF amp and unplug it.
Remove the 6 screws that secure the box to the cabinet
Carefully remove the box from the cabinet.
Throw the box off your nearest balcony. Do not hit the children playing below.
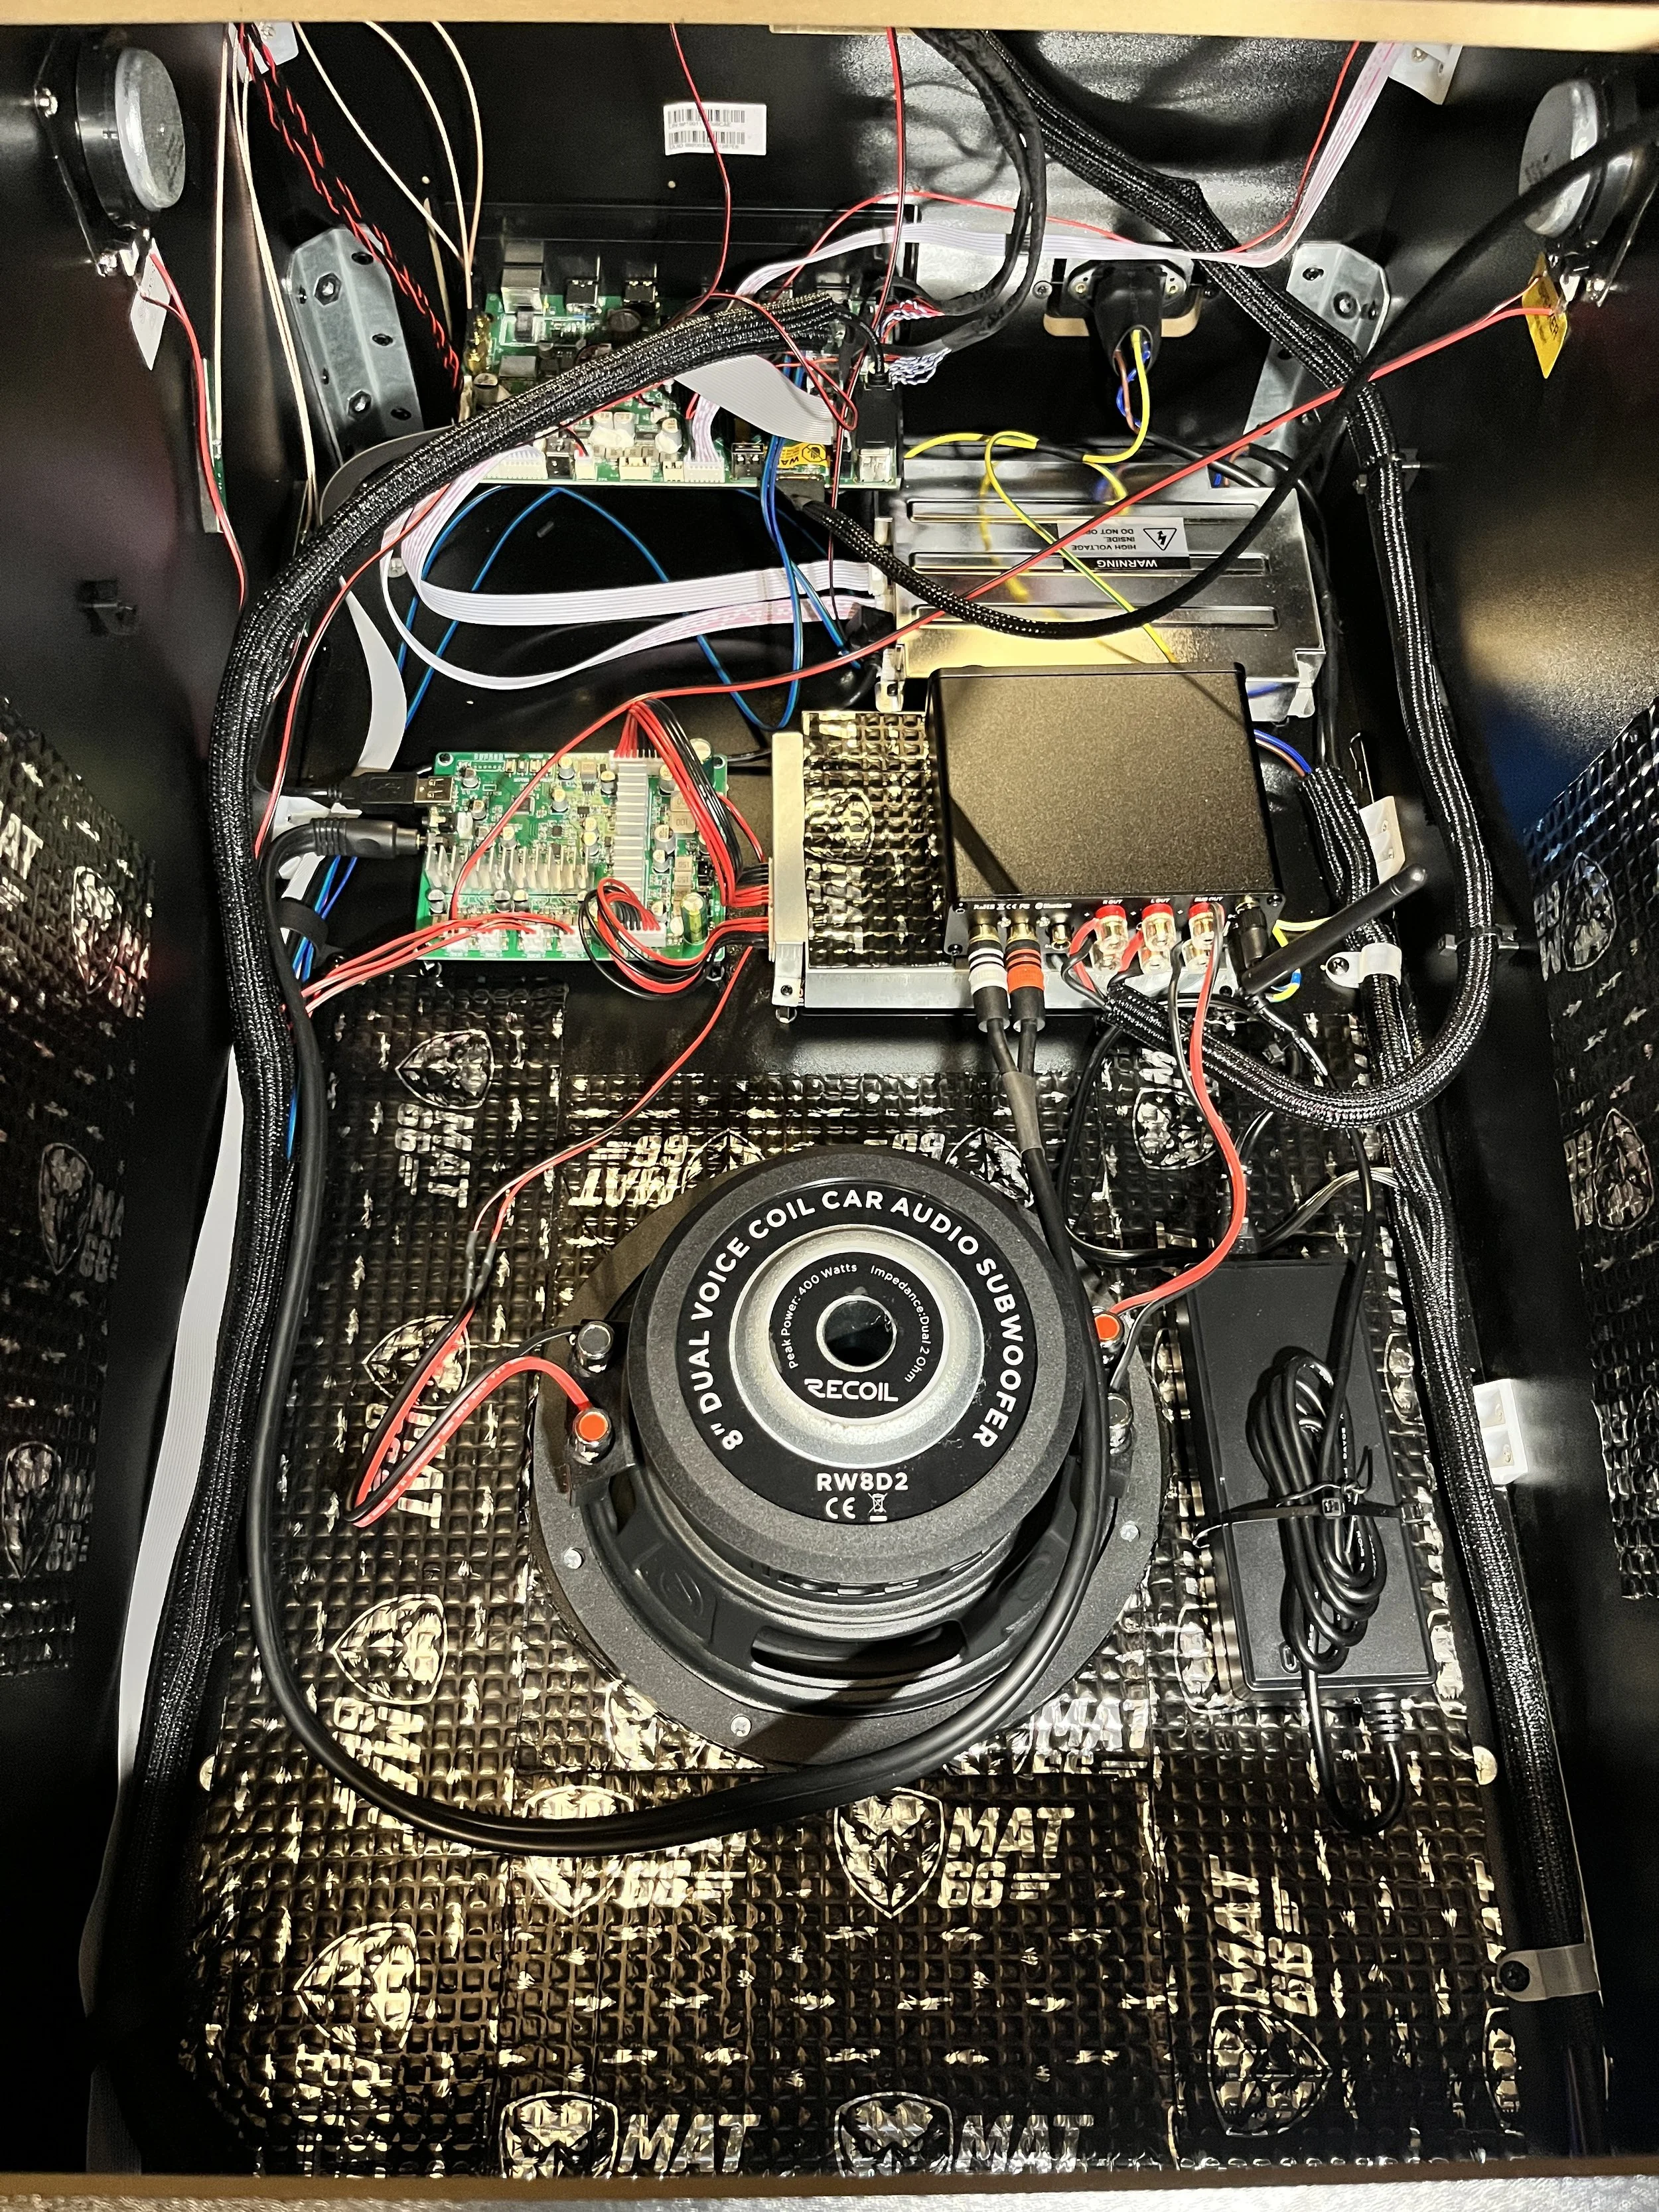
INSTALL THE SUBWOOFER
Remove the speaker grill underneath the cabinet.
Center the subwoofer over the hole, lay on your back underneath the cabinet and eyeball the alignment. Make sure the subwoofer rubber surround isn’t touching the wood. There are a lot of low-frequency-effects going on in a pinball game so that speaker cone is going to be do the mamba, you don’t want to damage it. If you are satisfied, screw it in.
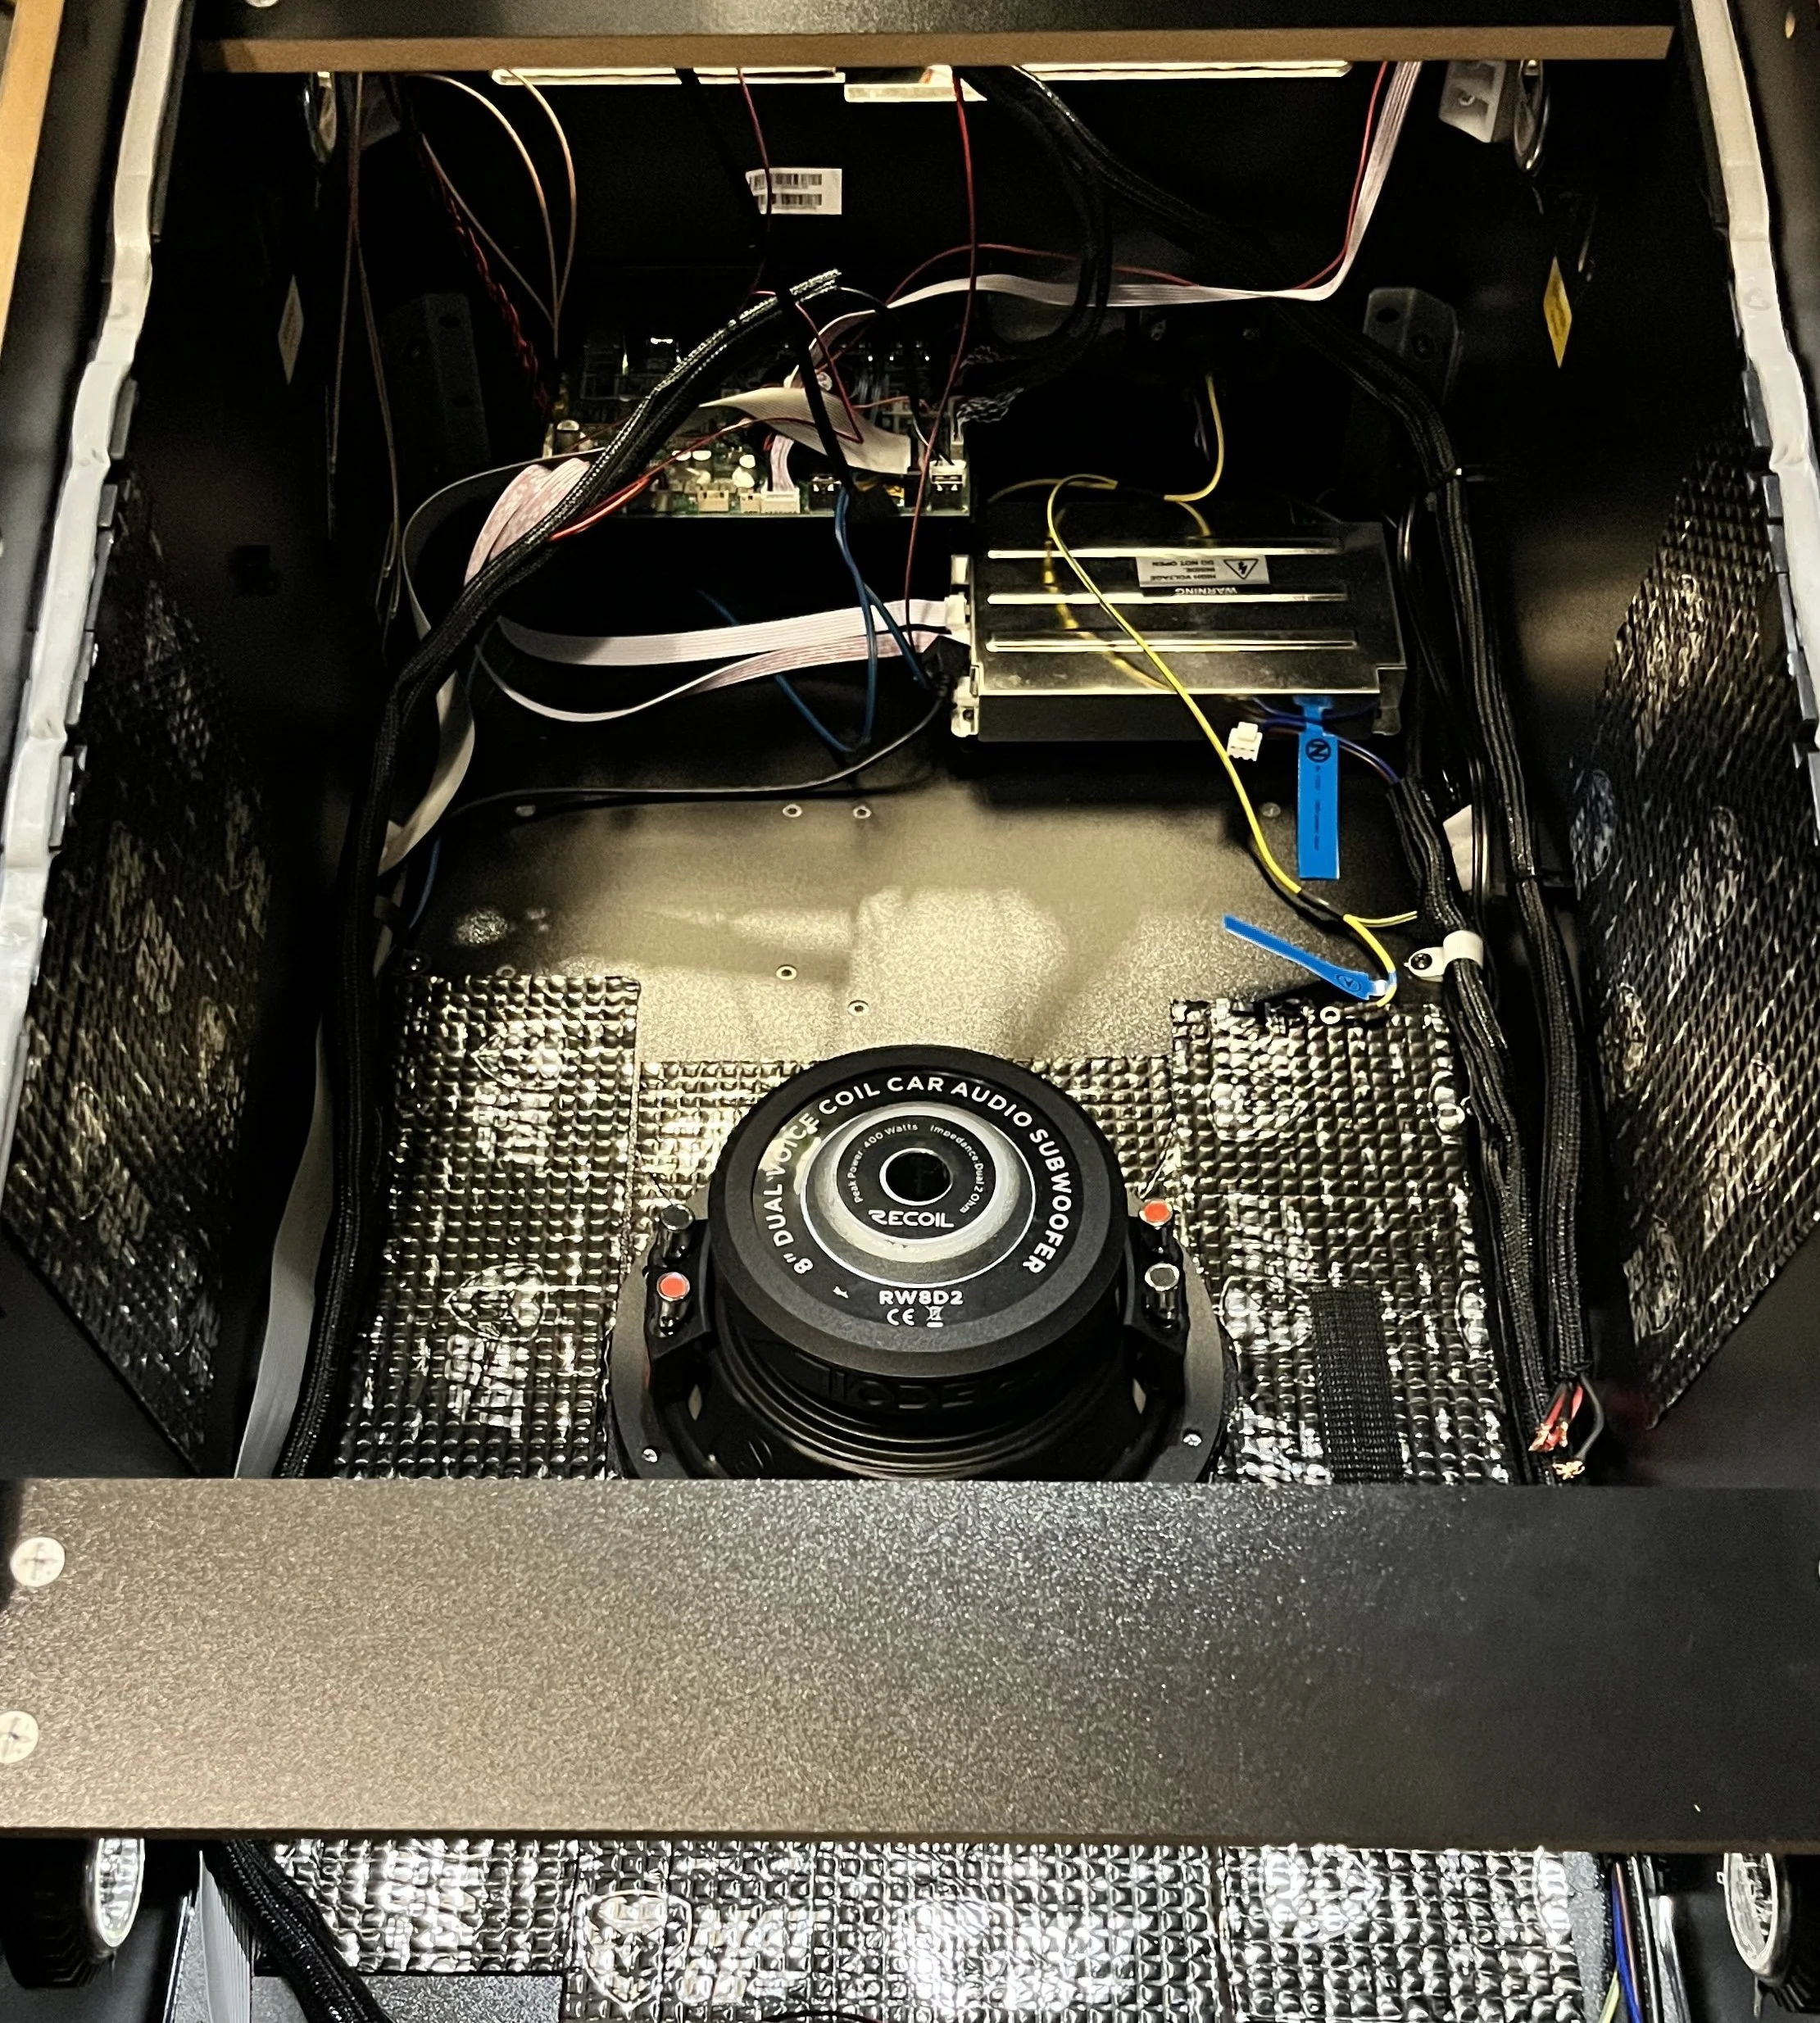

REMOVING THE BACKBOX SPEAKERS
Separate the speaker wire harness that connects the bottom cabinet with the backbox.
Look on the factory SSF sound/amp card and disconnect the connector going to FL and FR. You no longer need these.
If I recall, the speaker wires are soldered to the speaker terminals. There are 4 screws per speaker and remove them from the cabinet with the wiring harness attached. They make fancy earrings.
INSTALLING THE BACKBOX SPEAKERS
Since I’m using the 5.25” version, it doesn’t sit into the pocket where the factory 3.5” goes so I mounted the speaker over the hole from the backside. If you are going to use a speaker larger than 3.5”, I would recommend the 4” because the rubber surround touches the wood very slightly on the 5.25” model. I don’t notice any sound degradation so I left it. Have an assistant eyeball the speaker so it’s centered over the hole, then screw them in directly into the wood. Remember that you are dealing with MDF, it does NOT like screws to be over-tightened.
The Kicker box contains 2 ~12” wiring harnesses for both speakers. There are speaker terminal quick disconnects on one end and bare wire on the other. You will eventually connect the FOSI amp to these.
Connect a harness to each speaker. The wire with a stripe goes to the positive (+) speaker terminal. Using their harness is optional since you can solder your speaker wire directly to those terminals or install your own quick disconnects to your speaker wire. Since my setup will always be in flux and I don’t happen to have any connectors at the moment, I used the kicker wiring and soldered about 3 feet of 16ga speaker wire to each one. That way I can easily disconnect if needed. You’ll have to trim this once your amp is mounted.


THE AMPLIFIER
The FOSI 2.1 amplifier is a Class D amplifier that features 50 watts x 2 and 100 watts x 1. It’ll take 2 RCA line-level channels and produce a low-pass subwoofer channel. This use case is perfect for the ALP 4K because the front speakers lack low-end for that robust sound.
I love this amp. Not only can you adjust the Treble and Bass to tailor your personal sound, it features a bluetooth connection so you can use your 4KP as a bluetooth speaker!
NOTE: If you connect to this amp via Bluetooth, the RCA inputs are disabled. You can either hear your pinball machine or your bluetooth music. If you want to go back to pinball, you have to disconnect your bluetooth connection.

What a lovely piece of kit.
MOUNTING THE AMPLIFIER
I mounted the Amplifier on top of the SSF power supply cover. I used 3M Dual Lock style fastener because it’s what I have on-hand but you can use double sided tape or regular hook & loop, just use something that’s secure so it doesn’t rattle. I was concerned that I would get RFI noise from this arrangement but the signal remains clean.
THE SIGNAL
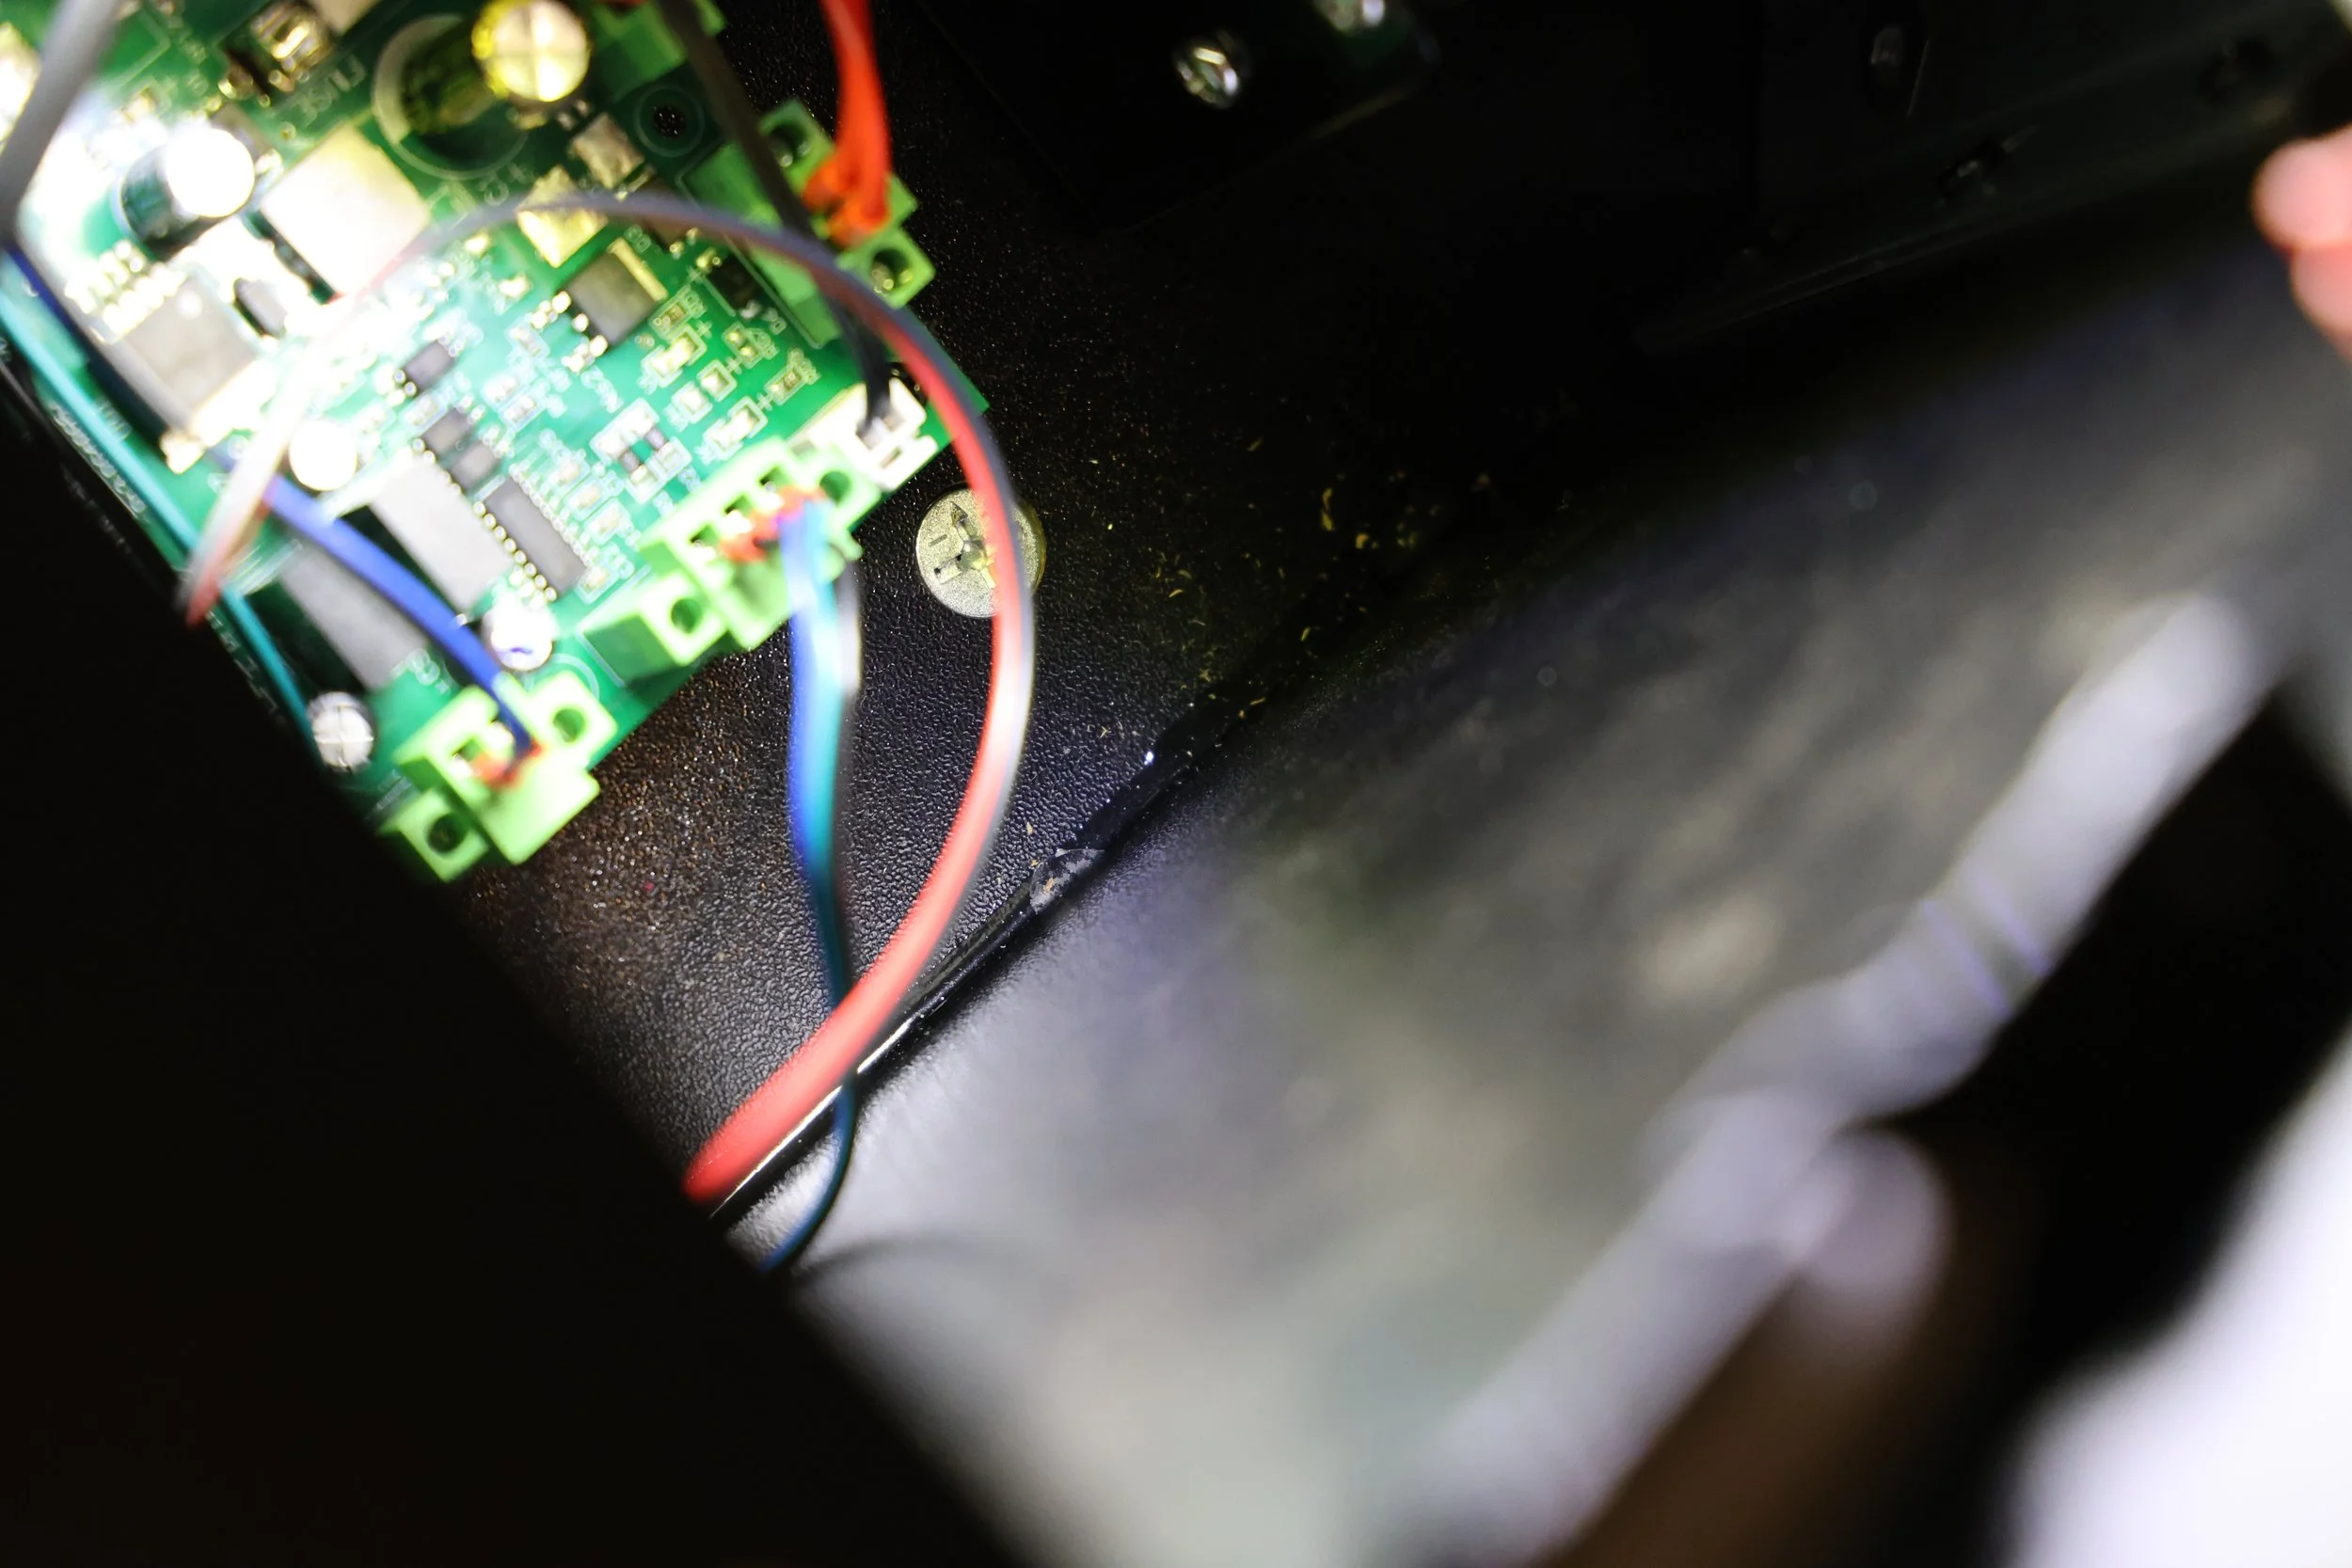
I tried using a passive line-out converter to take the amplified signal (FL and FR) to line-level but it introduced a lot of noise. To those who know car-audio, it sounded line alternator whine. I couldn’t get rid of it, there must have been an odd ground loop in play. Then I tried to find any kind of diagram about the SSF audio card/amp and guess what, in the installation manual I found THIS!

Hello there line-out connector with your clean signal!
CONNECTING THE AMPLIFIER TO THE LINE-OUT SIGNAL.
Use the 3.5mm to stereo dual RCA cable for this connection. The 3.5mm end goes into the sound card’s Line-Out and the 2 RCA’s go to the FOSI amp’s RCA Inputs.
POWERING THE AMPLIFIER
I want the FOSI amp to turn on at the same time as the cabinet so I tapped into the wiring coming out of the cabinets main power switch. You can trace two wires—brown and blue—that are used to power the SSF power supply. On the FOSI power supply, cut off the plug that goes into the wall, and tap into the brown and blue wires. You’ll need some soldering know-how to do this safely. If you’re not confident, keep the FOSI power supply cabling intact and run it out the back opening and plug it into a power strip.
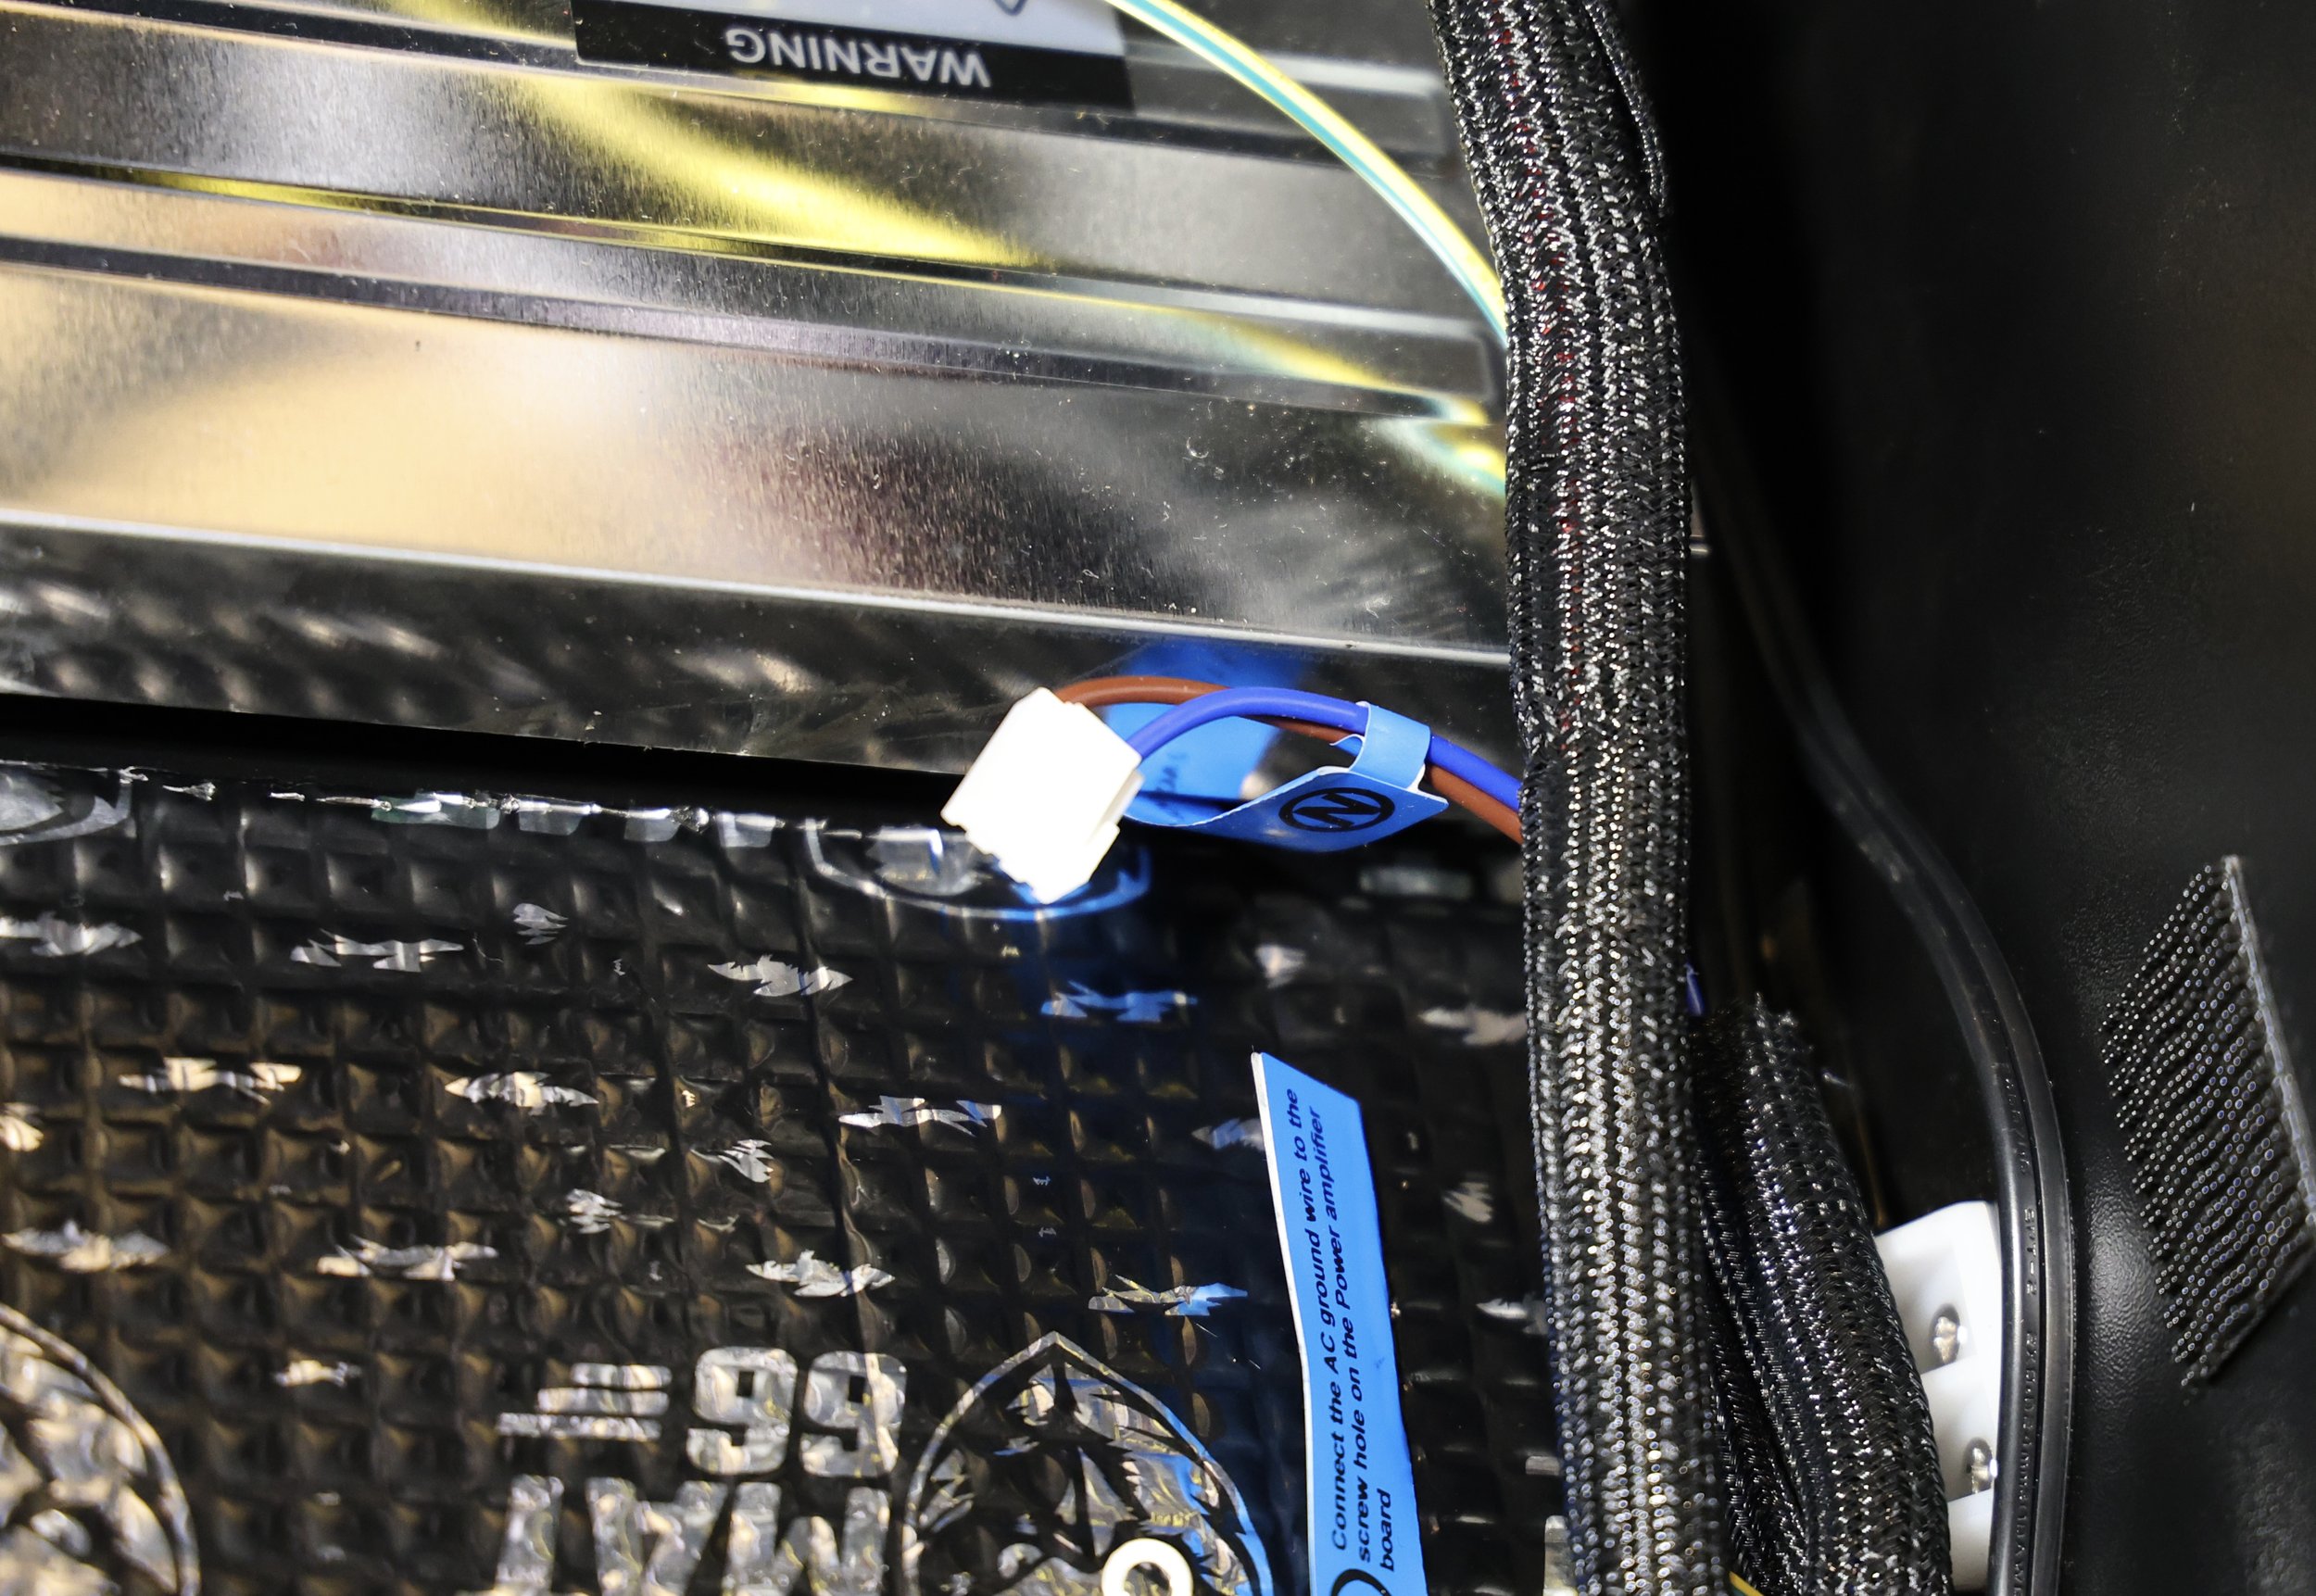
Blue is Live and Brown is Neutral - This is the cable that connects to the factory SSF’s power supply.
NOTE: This amplifier will make a popping sound through the speakers when powering on and off. I wish it had an anti-pop feature, be aware.
CONNECT THE SPEAKER WIRES
Connect all speakers to the amp.
Remember that this is a dual-coil subwoofer and we’re going to leverage both voice-coils to get the factory SSF Sub output AND the backbox speaker support. Cut off the factory subwoofer harness so you can plug in the 1st voice-coil to the factory SSF Sub output. the 2nd voice-coil goes to the FOSI amp.
If you have wire loom, now is a good time to install it.
TESTING
Flip the amp switch to ON
Set your Treble and Bass to 50%
Set Sub Vol and Master Vol to 0%
Set Sub Freq to 50%
Look at your cabinet power switch and make sure it’s currently in the OFF position.
Plug in the cabinet’s power cable.
Flip the power switch and check for any sparks or magic smoke.
Go to the Settings and turn on some background music.
Slowly turn the Master Volume up
Slowly turn the Sub Vol up
Got audio? Start tweaking the Sub Freq to find that balance between the sub and backbox speakers.
Go to the Health Check —> Audio Test and wait for the Phase Test. The sound comes from the center of in phase. If it’s not, swap the negative and positive on one of the channels. You can do that on the amp or the speaker.
ACOUSTIC TREATMENTS
Now that your 4KP is rattling like an ashtray full of coins, we have to mitigate it the best we can.
The bottom board of the cabinet sits in a channel cut into the left and right half. It’s not very secure and is loose in places. This is a huge rattle spot. What I did was run a bead of clear Gorilla Glue where the bottom board and side pieces join. Run a bead the best you can around the perimeter. You won’t be able to run it everywhere because the components get in the way but anything helps, even if it’s an 1” bead or a dot. If you want to do it right, gut the entire cabinet! That’s for crazy people though. Let that cure for 24-hours before working on the next step.

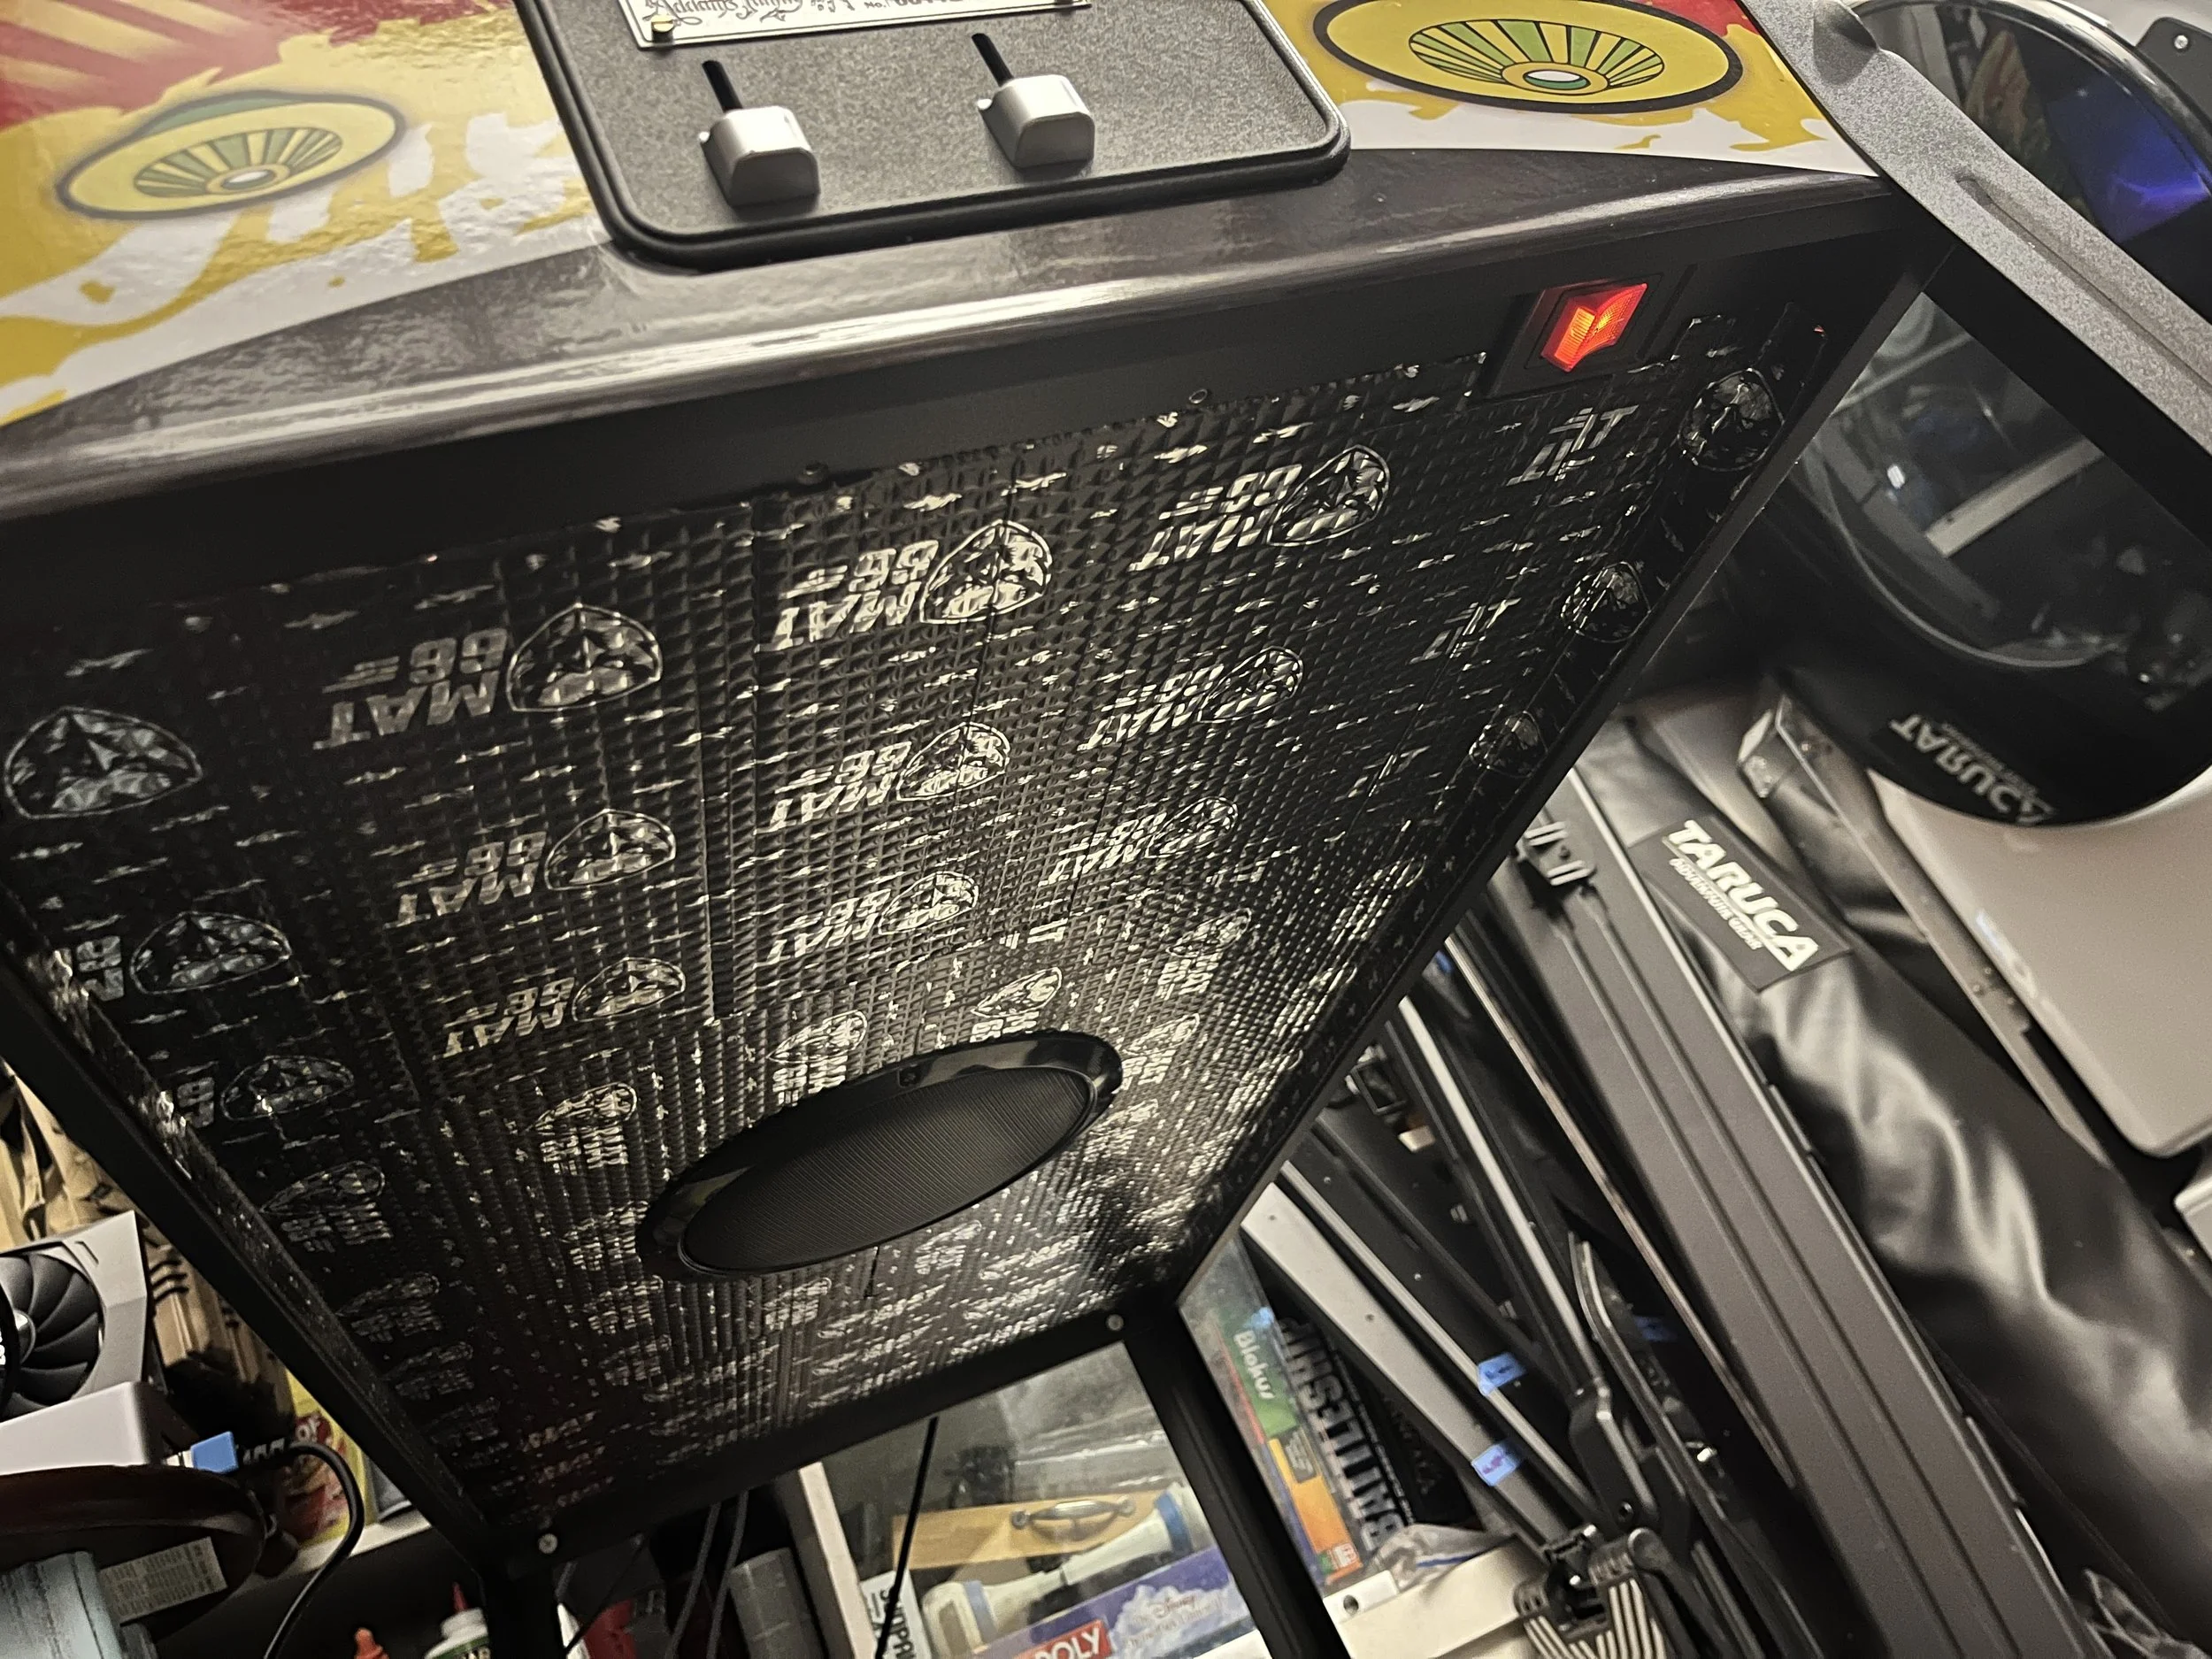
Next is installing the Dynamat knockoff, Mat66 Sound Dampening Sheets. Get out your scissors and roller and apply it to as much real estate on the bottom board as possible. Don’t forget to apply it underneath the cabinet and the back box too. I didn’t apply much to the side boards because that might affect the performance of the SSF Exciters. The exciters need to be able to vibrate the board to work.


But wait, there’s more!!
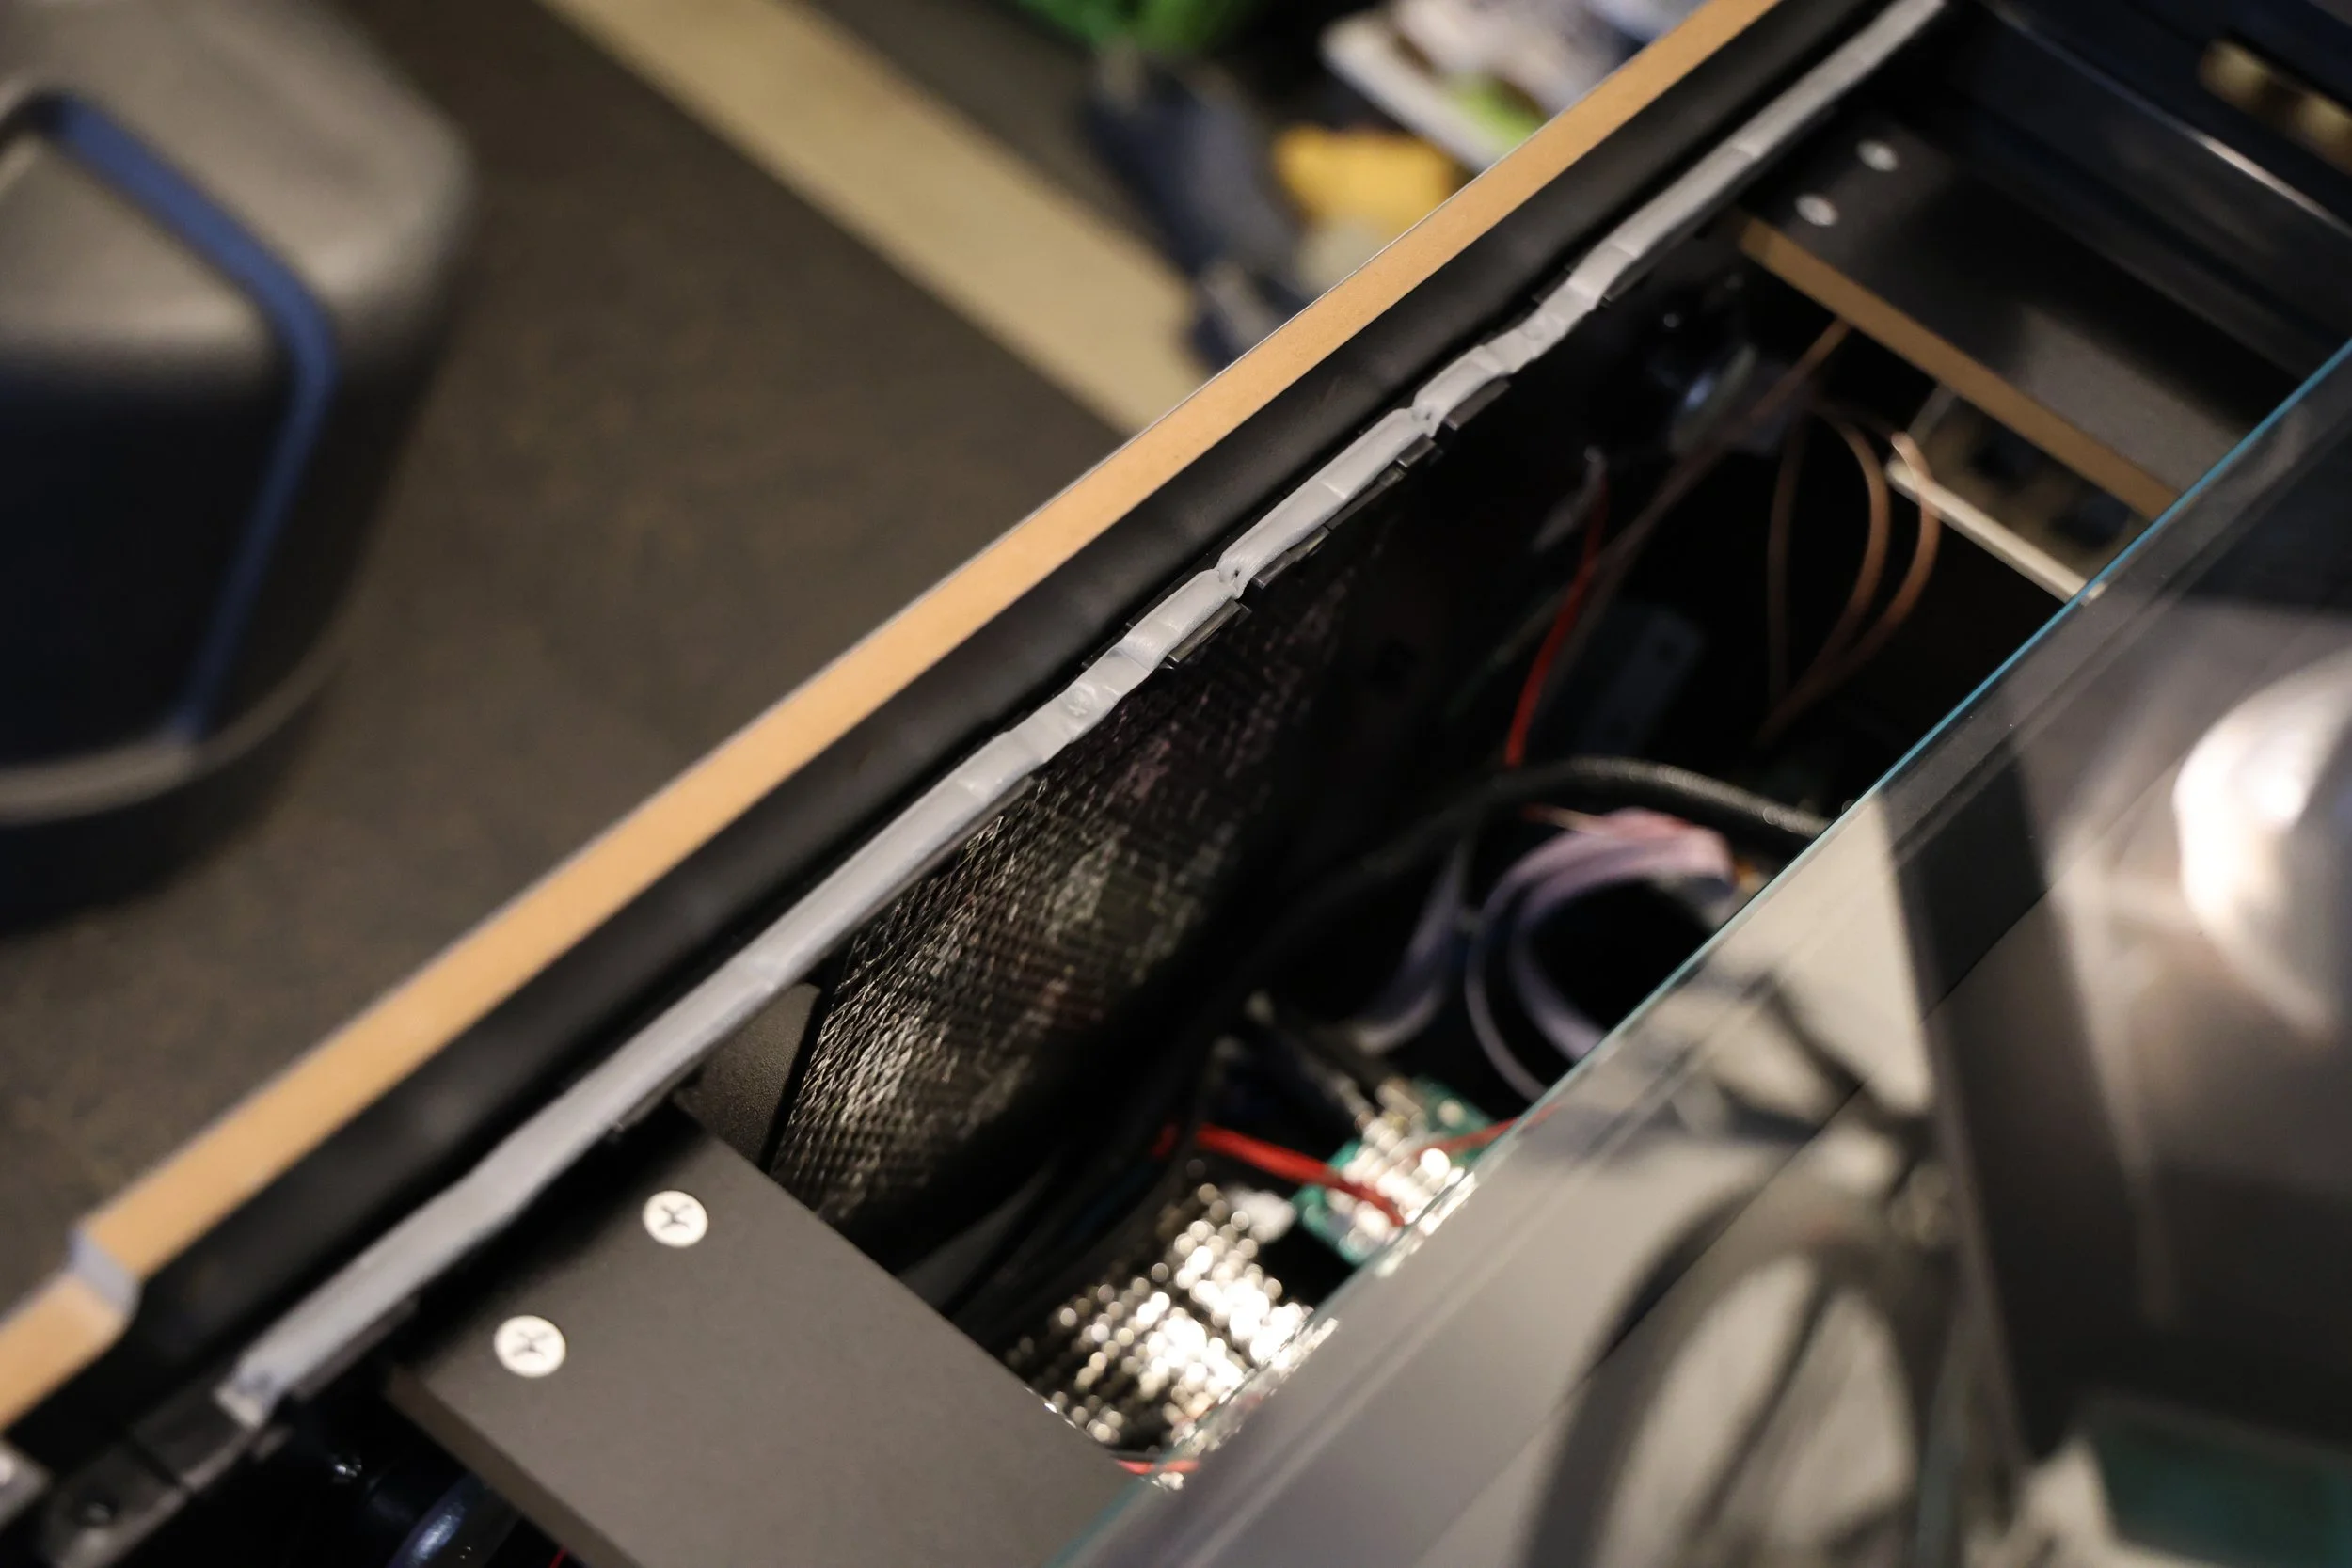
Wherever you have two surfaces come together you have a chance for vibration. I found this wonderful weather stripping made by Frost King that has a memory-foam bounciness to it. It’s perfect for filling in spaces that can vibrate. I put it everywhere! Don’t forget to tape down the metal loop attached to the backbox panel.


You are done! Reassemble your 4KP and go bother the neighbors with your loud pinball machine.
Enjoy your new modification! Until next time!