I’m a Fan of Cabinet Ventilation
9/27/25
Disclaimer: Modifications are done at your own risk. Arkpins.com is not responsible for any damage, injury, or loss resulting from the use of this content.
This blog contains Amazon Affiliate links, if you like what you see, consider supporting my journey.
MAJOR UPDATE 10/1/25
I’ve been in contact with the Cleveland group and discovered that the subwoofer I am using features 2-ohm voice coils which isn't favorable to the amp's design and causing the built-in protection to trip. In fact, you can damage the subwoofer amp circuitry if you run it hard enough. What I ended up doing was rewiring the voice-coils in series which increased the impedance to 4-ohm which made the connection stable. I was able to run the subwoofer w/o the fans for 45-minutes and didn't experience any audio anomalies. Regardless, adding a fan to the 4KP is still a good idea for the longevity of the electronics inside. Heat is the enemy!
THE PROBLEM
I recently upgraded the factory SSF kit to the more robust Cleveland High Power SSF Kit and discovered that after 30–40 minutes of continuous play, the audio would start to cut out due to the cabinet temperature getting too high. The issue is repeatable after 30–40 minutes with the volume at a minimum of 50%.
As a quick troubleshooting step, I put a USB powered fan inside of the cabinet to draw in cool air and left the access panel off. The audio issue went away, I was able to play 1.5hrs straight without a hiccup. My cabinet is fairly airtight because of the soundproofing I did as outlined in the Audio Upgrades blog. The Cleveland amplifier needs airflow to keep cool so I’m going to install a fan to circulate air.
THE SOLUTION
Installing active cooling in the 4KP will prevent components from overheating.
WHAT
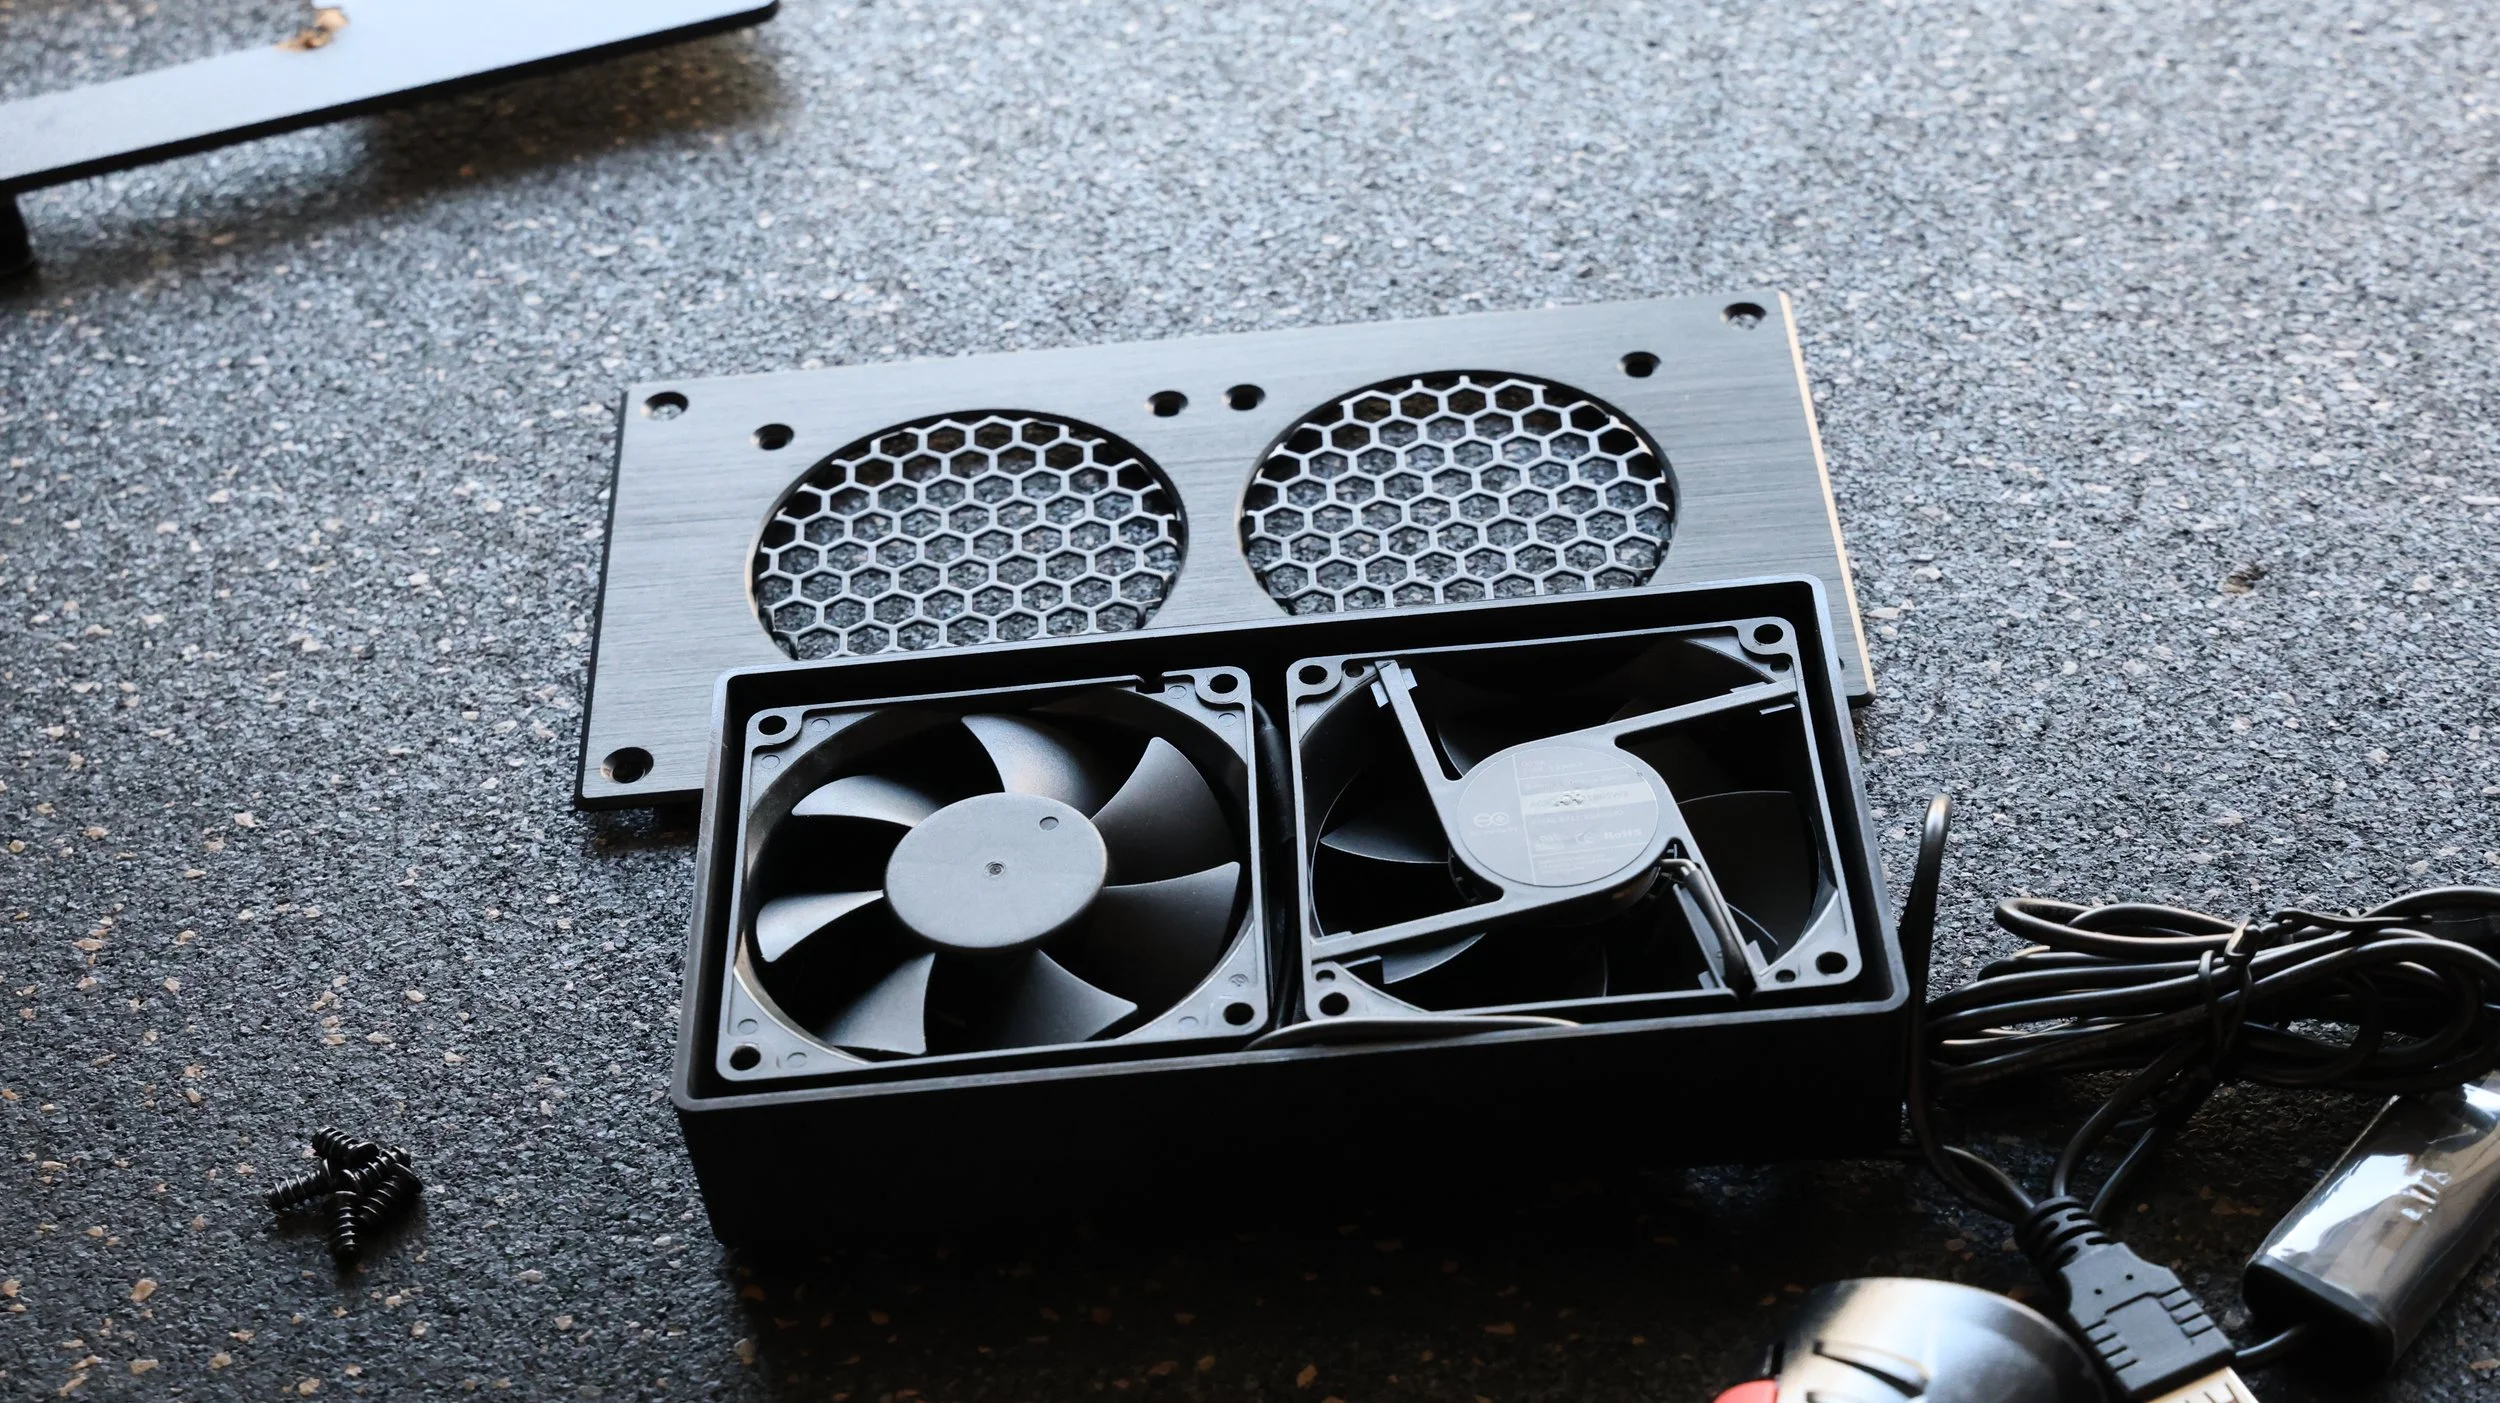
The AC Infinity Airplane S5 is a dual 80mm fan face-plate with a built-in speed control. It draws power from a single USB-A connector. I expect it to look like a factory installation when done.


Since I have a 24V power supply installed, I’m going to use this 12-24V USB-A and USB-C power adapter to provide power to the fan. It’ll also give me the flexibility to add additional USB devices as-needed. This is an OPTIONAL item because you can use the available USB port on the 4KP motherboard to power the fan.


HOW
TOOLS
Jigsaw
Drill
Phillips screwdriver
Hobby knife
Scissors
Wire cutters
Ruler
Permanent marker
MATERIALS
12-24V DC to USB-A and USB-C Power Adapter (OPTIONAL)
The fans are in a dual-push configuration but my cabinet is sealed up pretty tight with weather stripping and glue between the joints. Installing it as-is wouldn’t be very efficient, so what I’m going to do is reconfigure the fans in a push-pull configuration so it can pull cold ambient air in and push out the hot air.

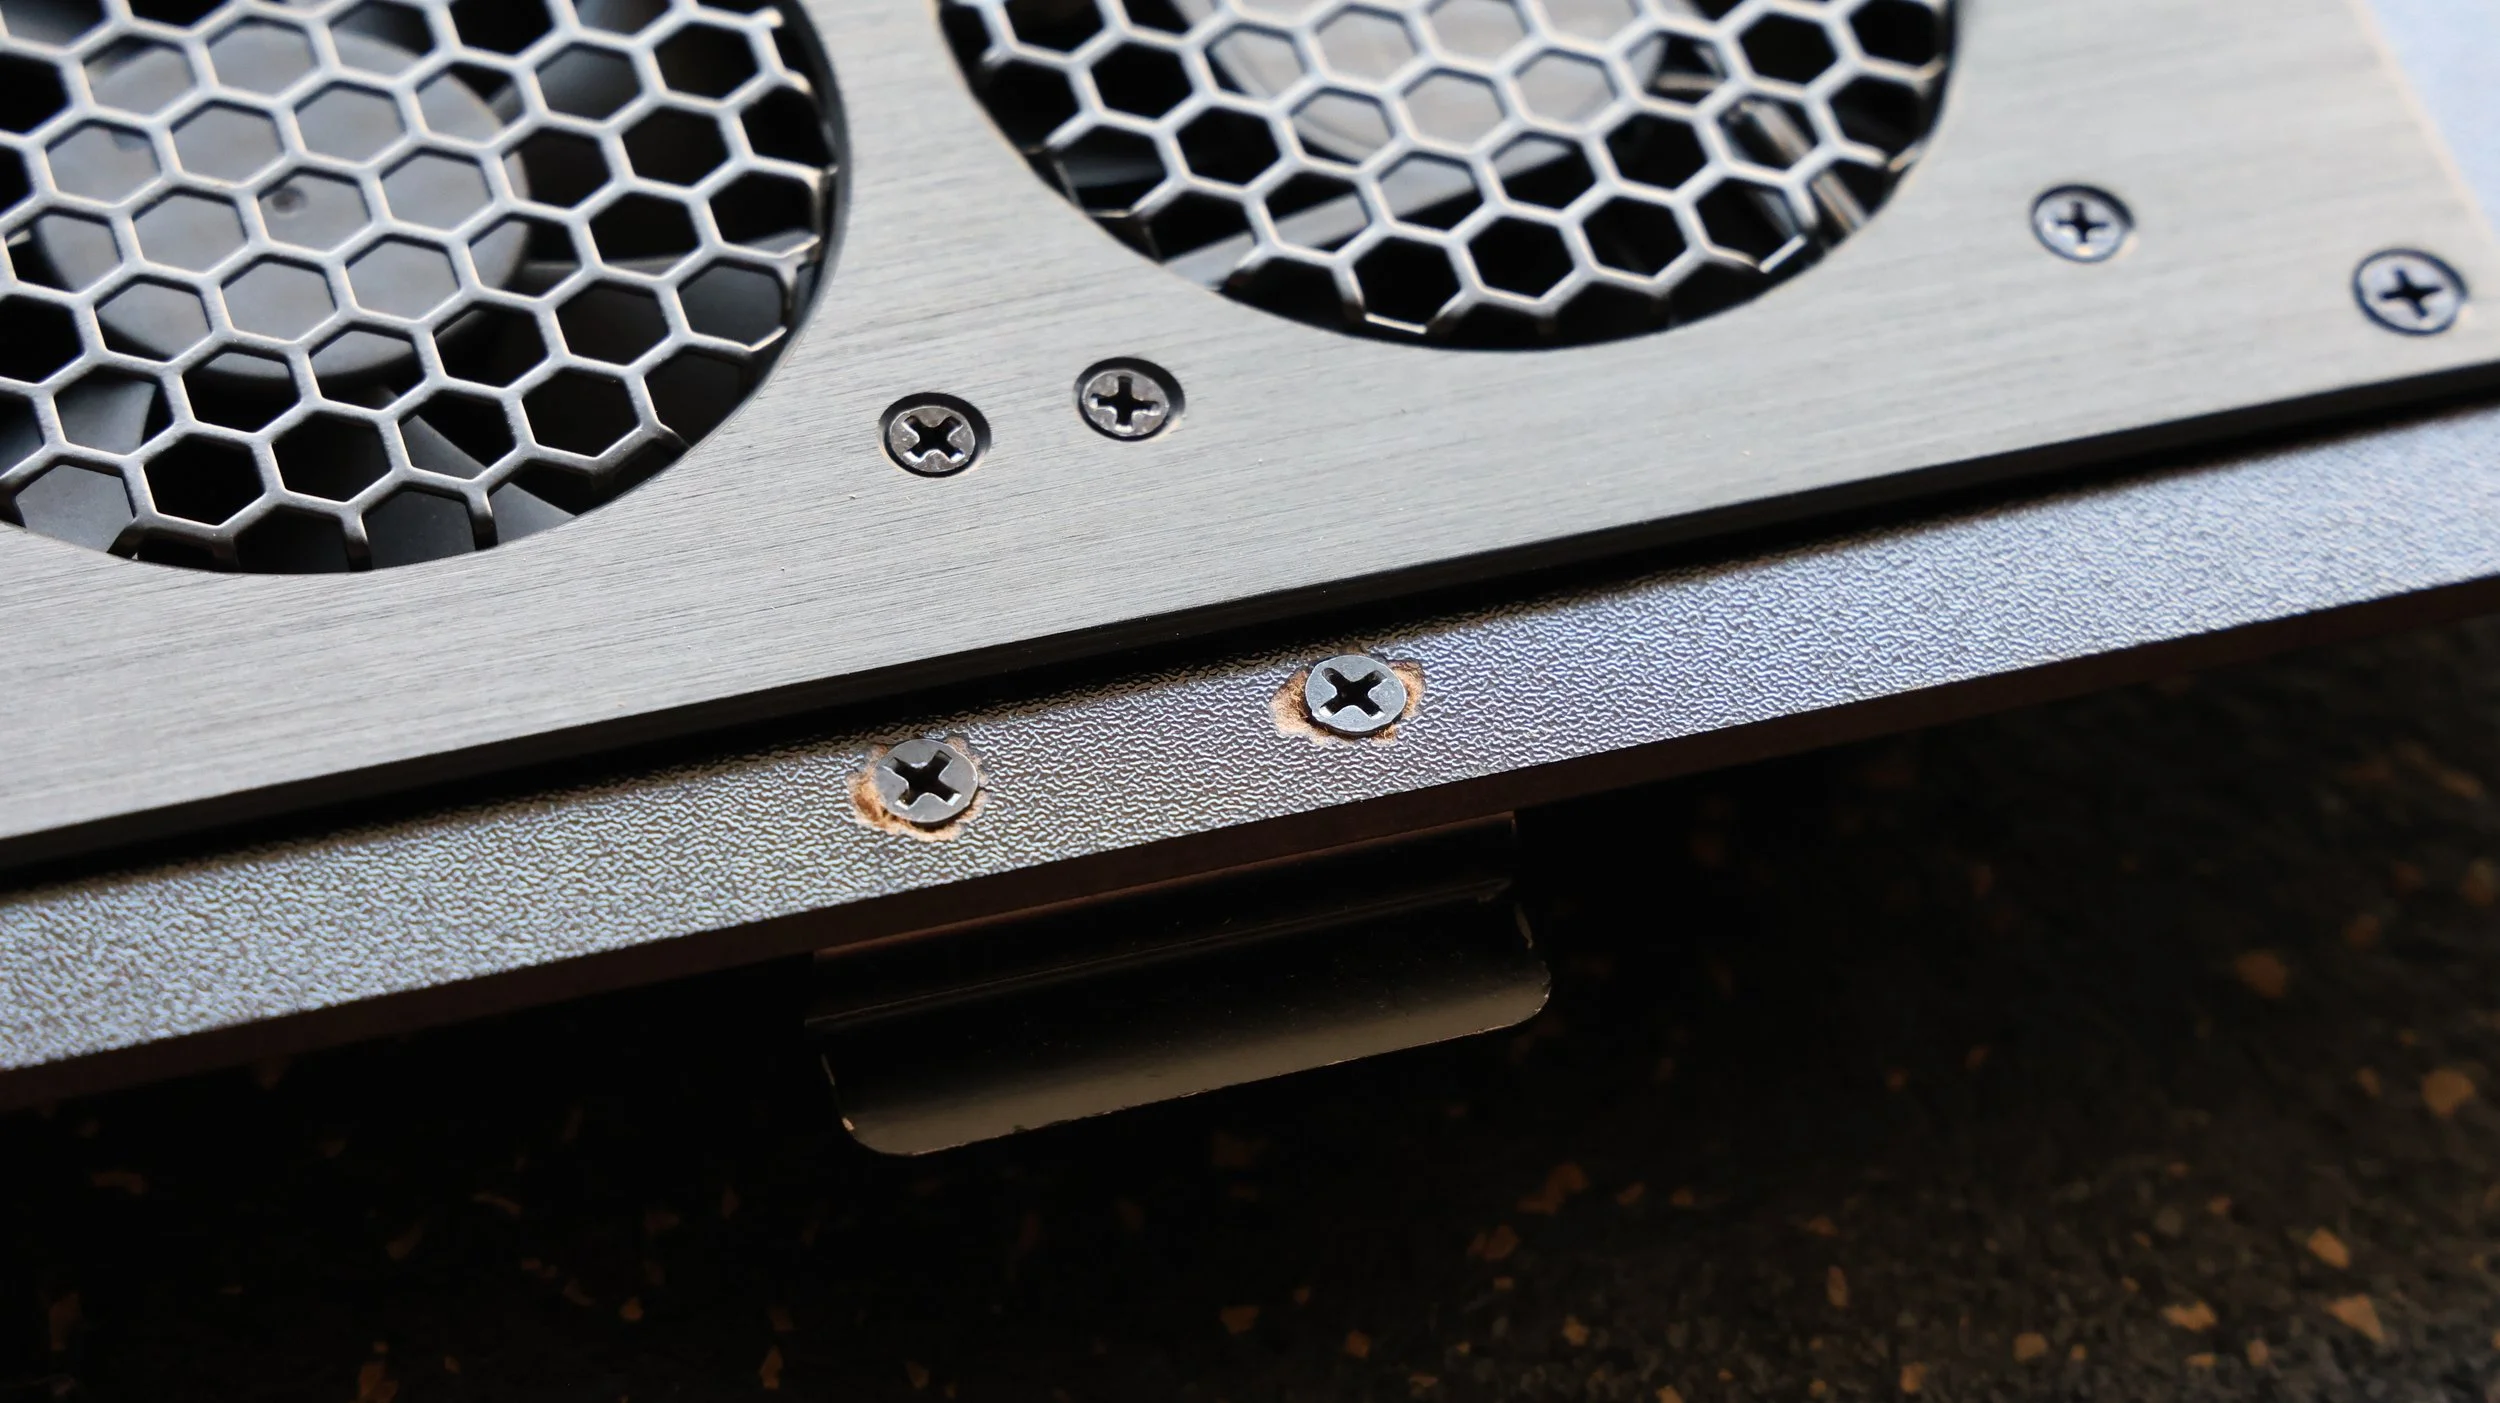
CUT A HOLE IN THE ACCESS PANEL
Use the included clear gasket as a template to trace the rectangle. Use a ruler to make sure you are centered.
Drill holes in each corner.
Use the jigsaw to cut the rectangle.
The screws that secure the tab on the access panel sticks out a little bit so I used a drill-bit to countersink the screws a tad.


MOUNT THE USB POWER SUPPLY
*I’m powering this with the external power supply that I installed in my Cleveland High Power SSF Upgrade blog. This step is completely optional because there is an available USB-A jack on the motherboard that can be used to power the fan.
Cut the alligator clips off the power-supply and strip 1/4” of insulation off each wire.
Apply double-sided tape to the backside.
Mount it on the side panel.
Connect the wiring to the power supply.


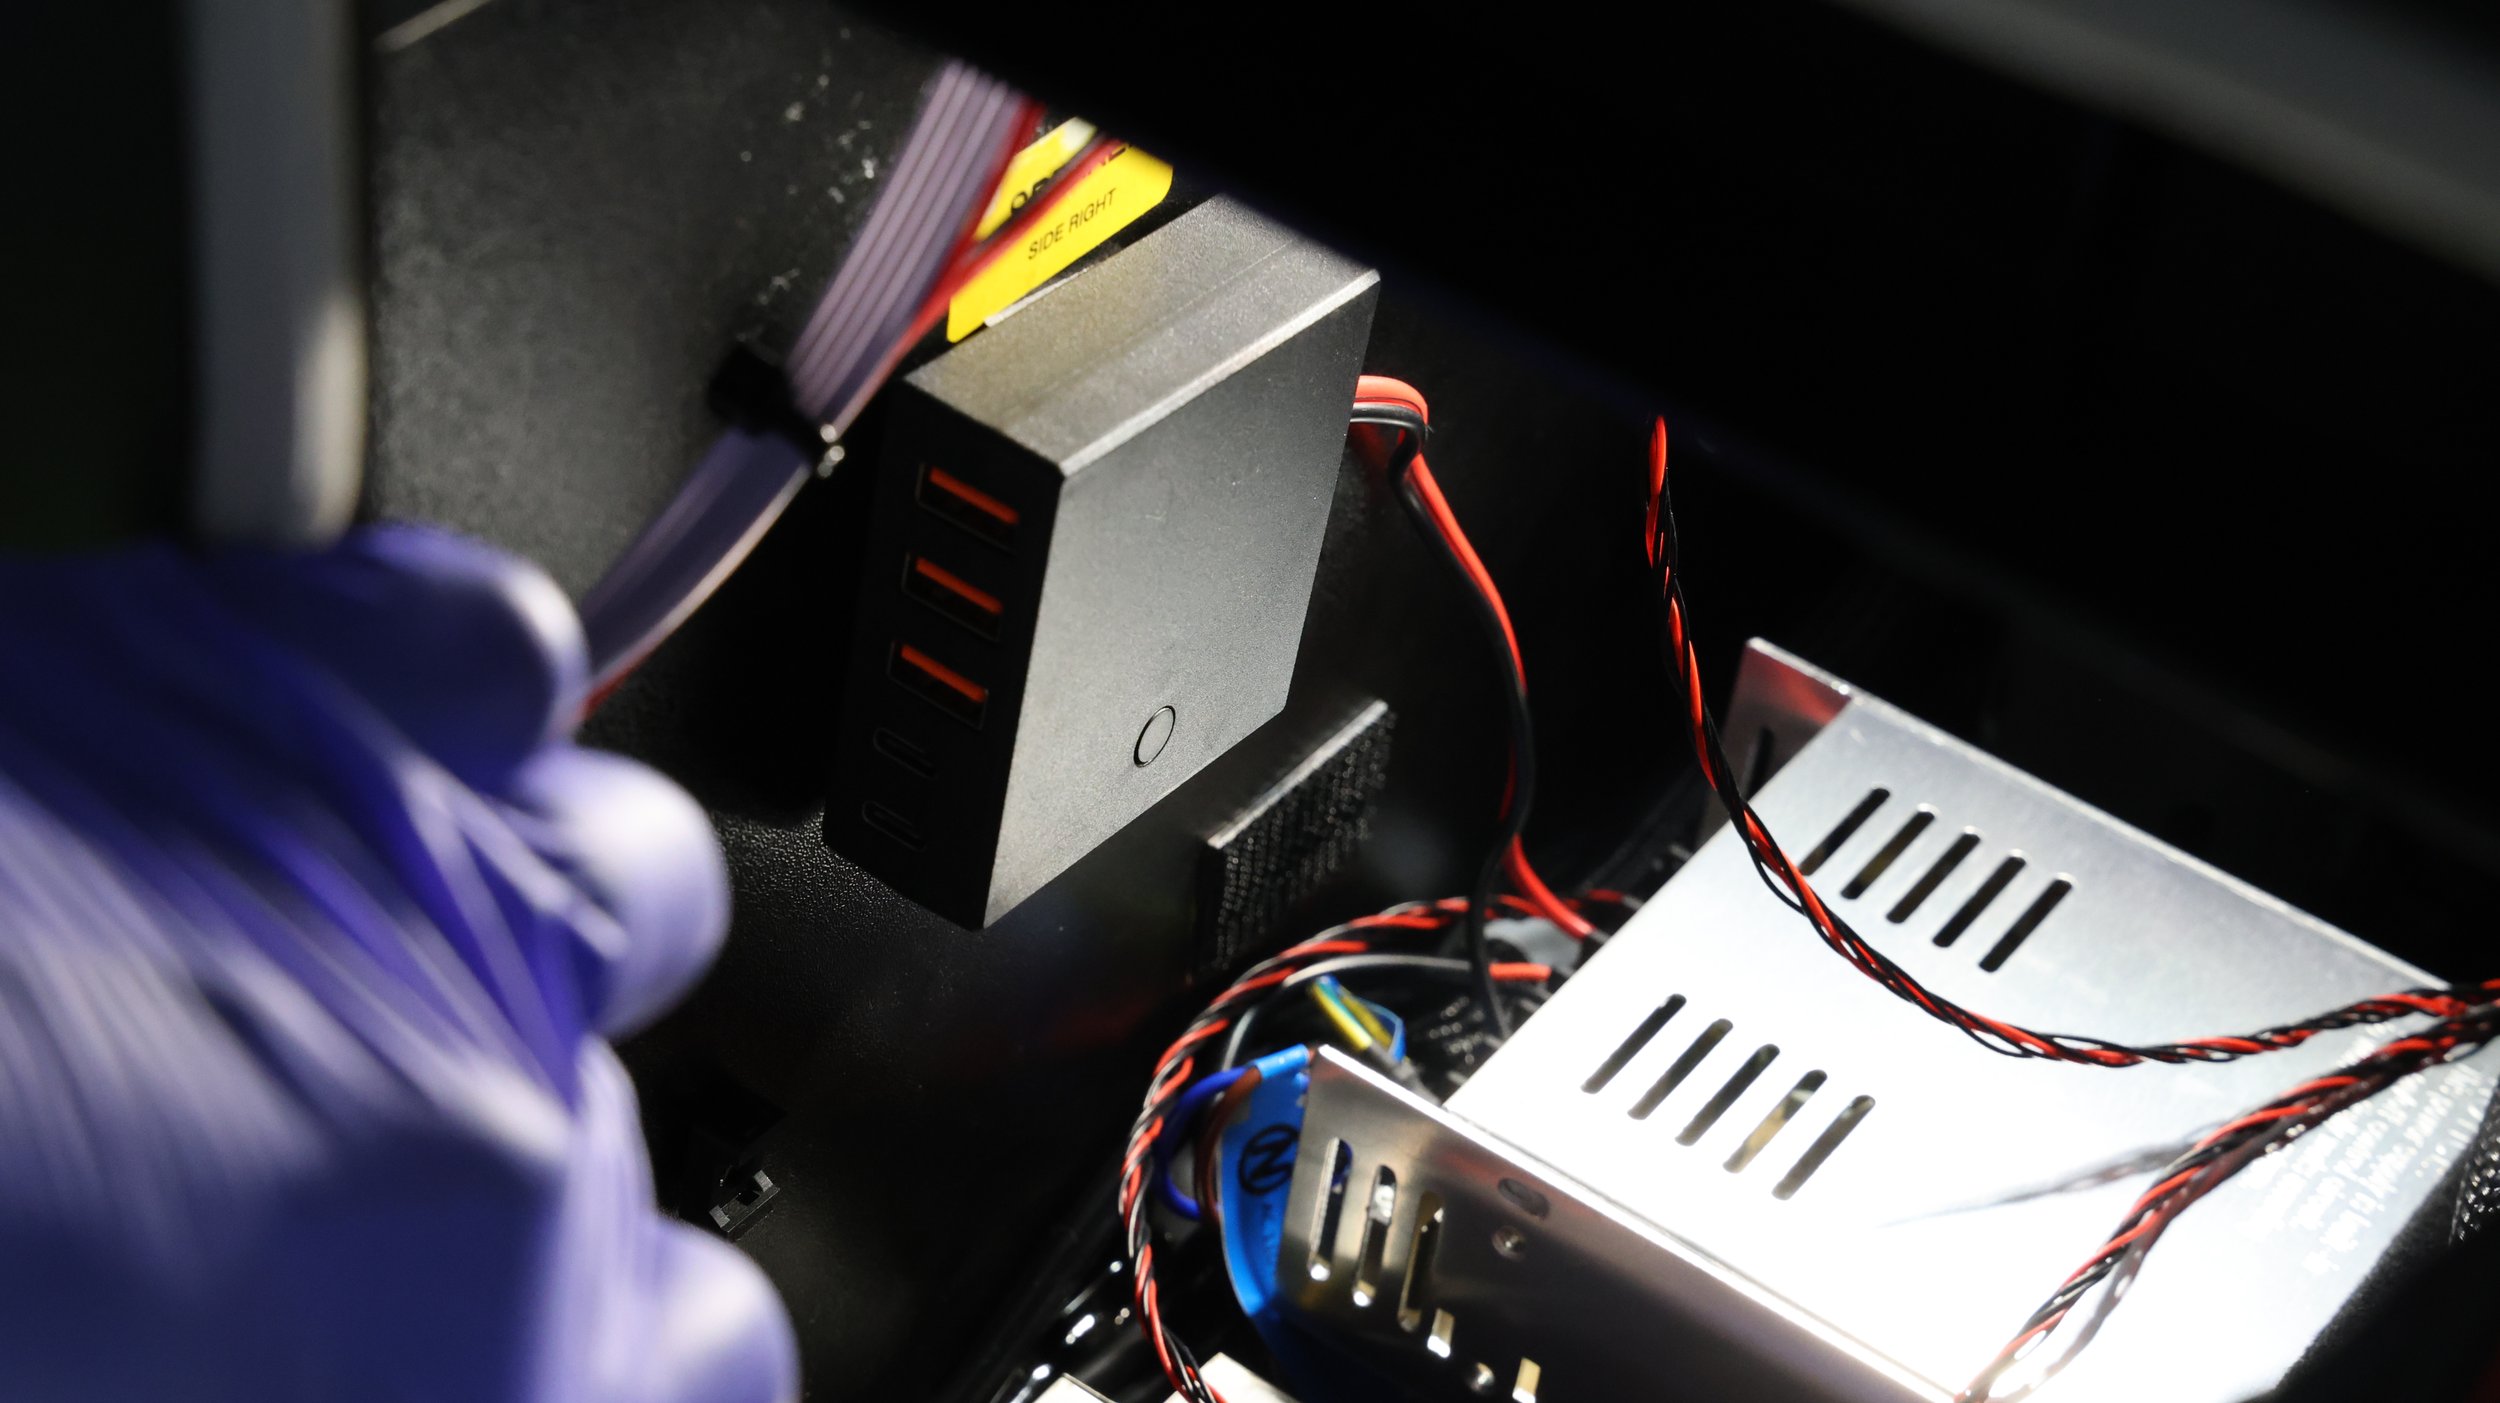

Use a velcro strap to shorten the USB cable internally and plug it into the power adapter. Welcome to Active-Cooling Land!

MEASUREMENTS
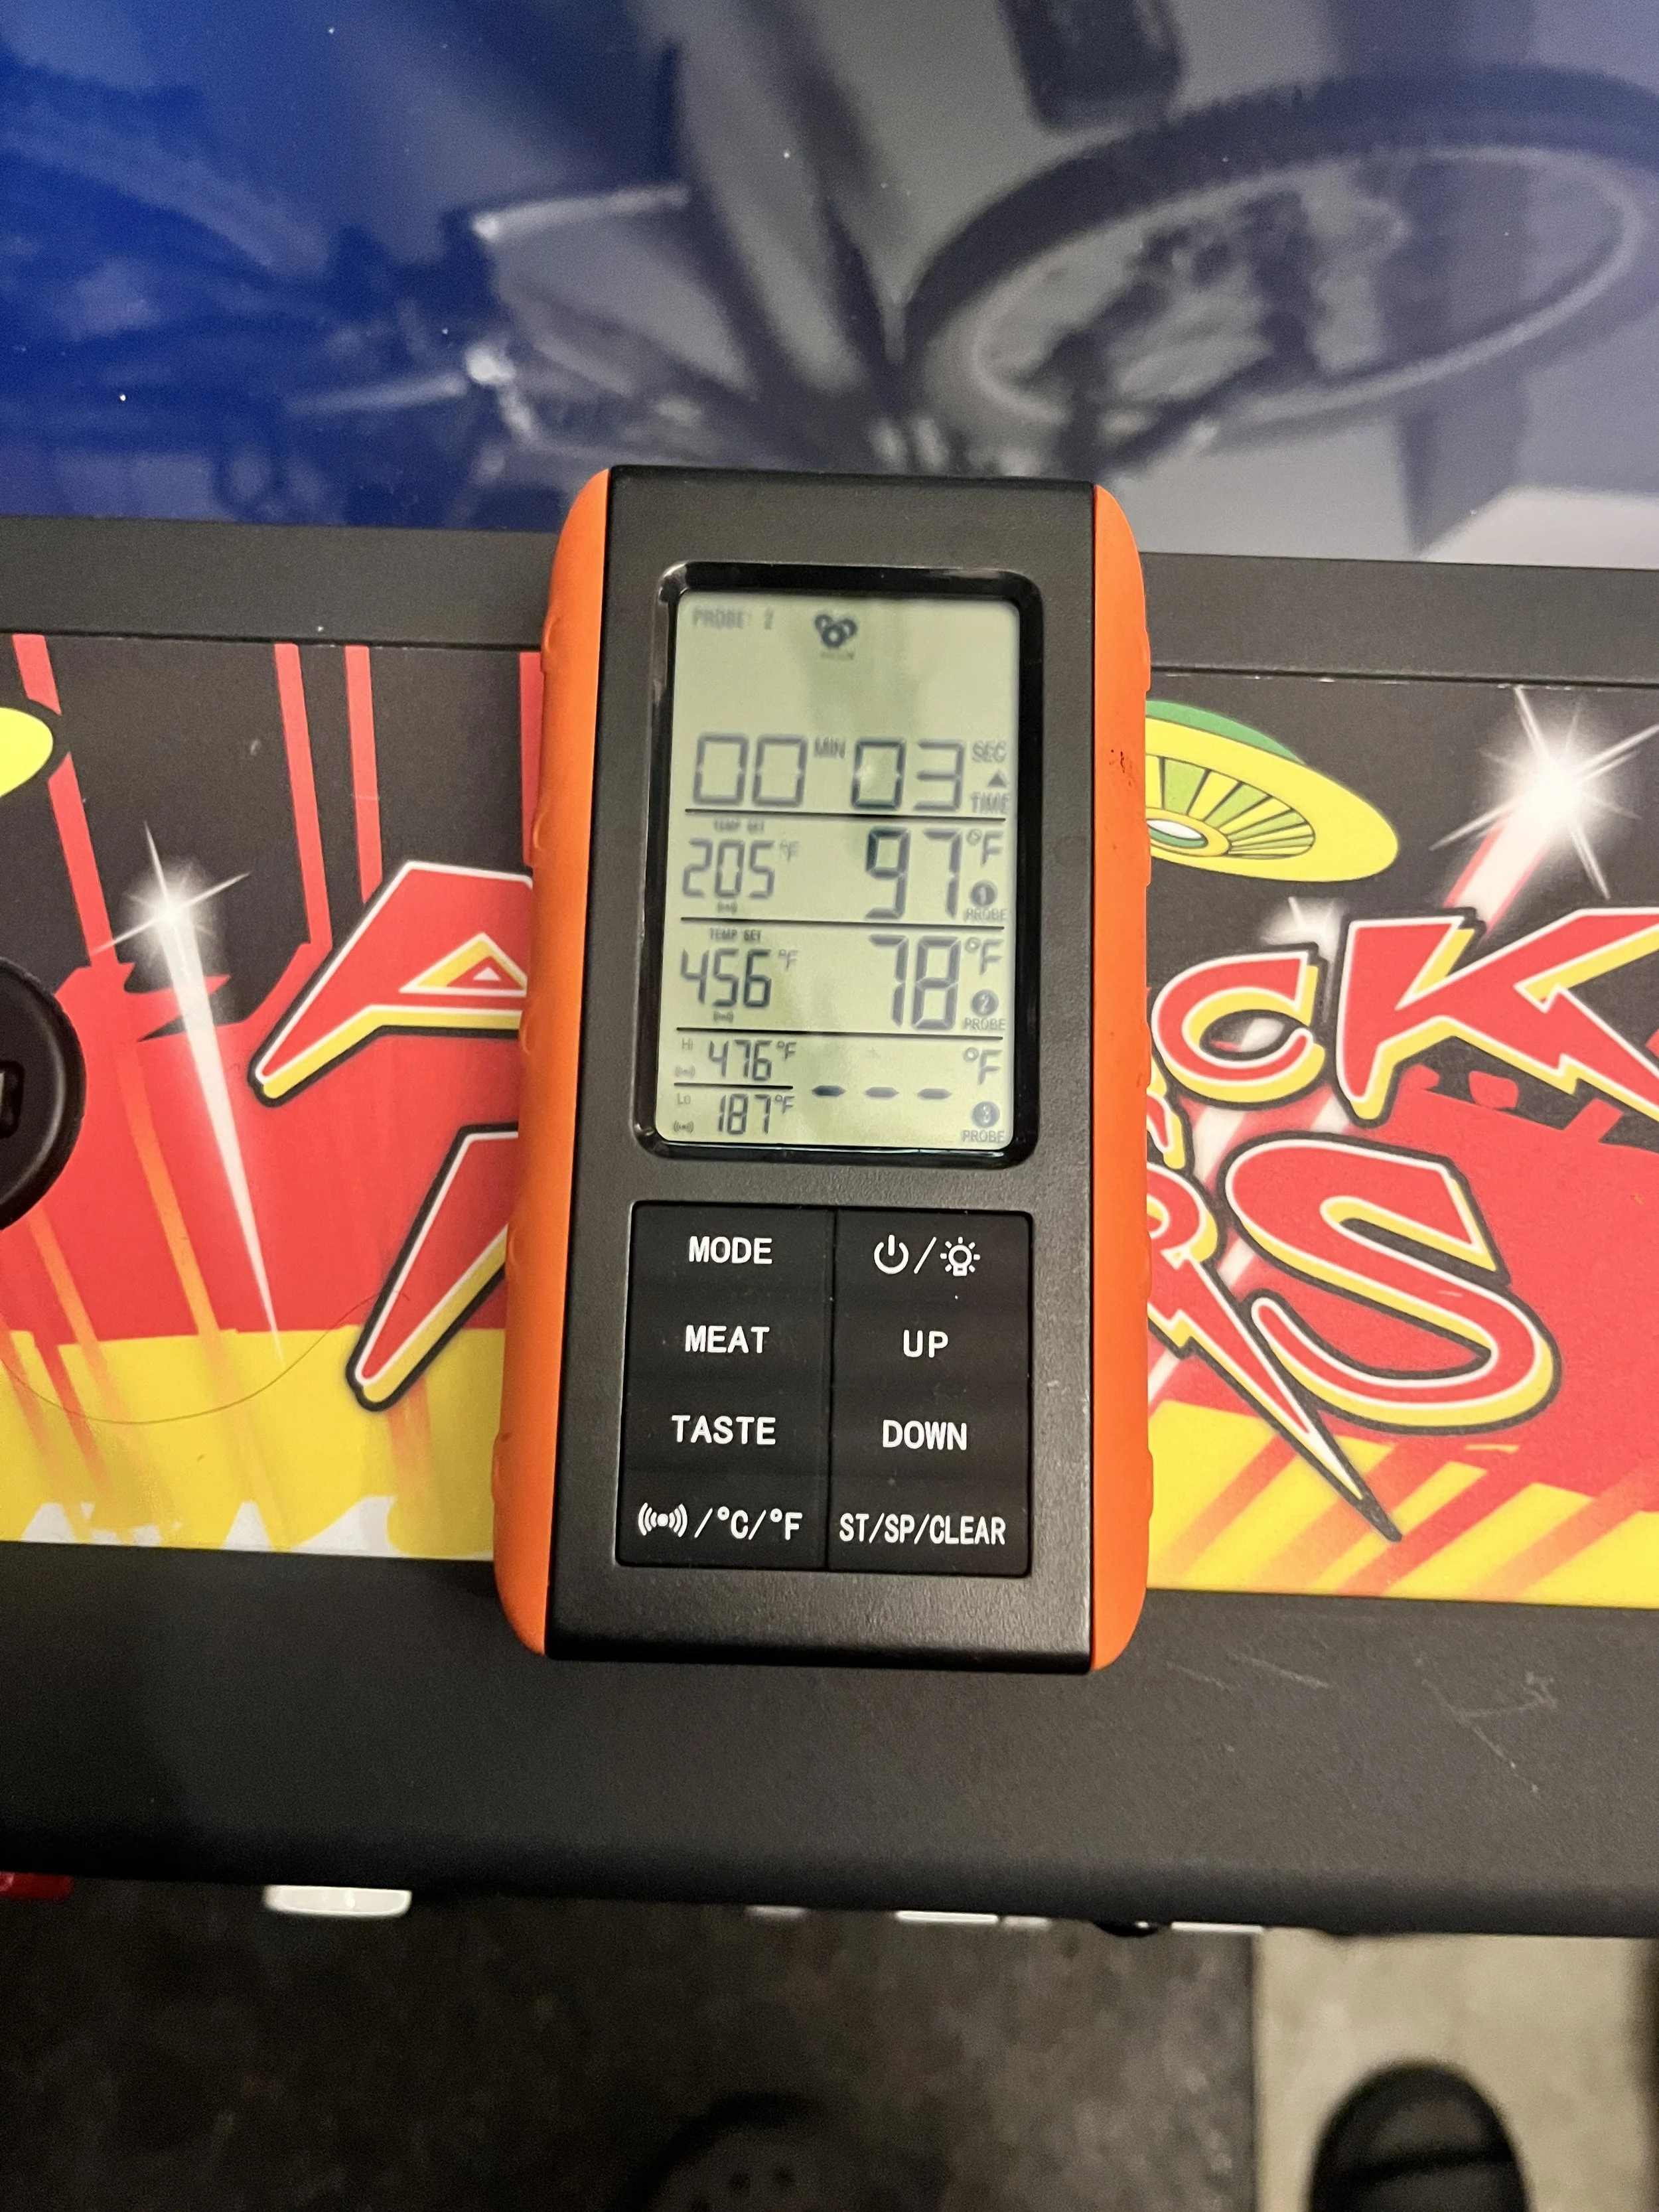
I used my wireless grilling temperature probes to get a little data. I put a probe hanging inside of the cabinet to measure the internal ambient and a left a probe hanging outside of the cabinet for the external ambient. I found it a interesting that there was only a few degrees difference! I suppose what really matters is that there is a clockwise circulation of air now. The TOP number is Internal Ambient and the BOTTOM number is the External Ambient.

FINAL THOUGHTS
The audio cutout I was experiencing prior is no longer an issue. Now that there is airflow going through the system, the Cleveland amp is receiving much needed cooling. My family played the machine for about 2-hours straight without incident. I’d say that this modification is a success!